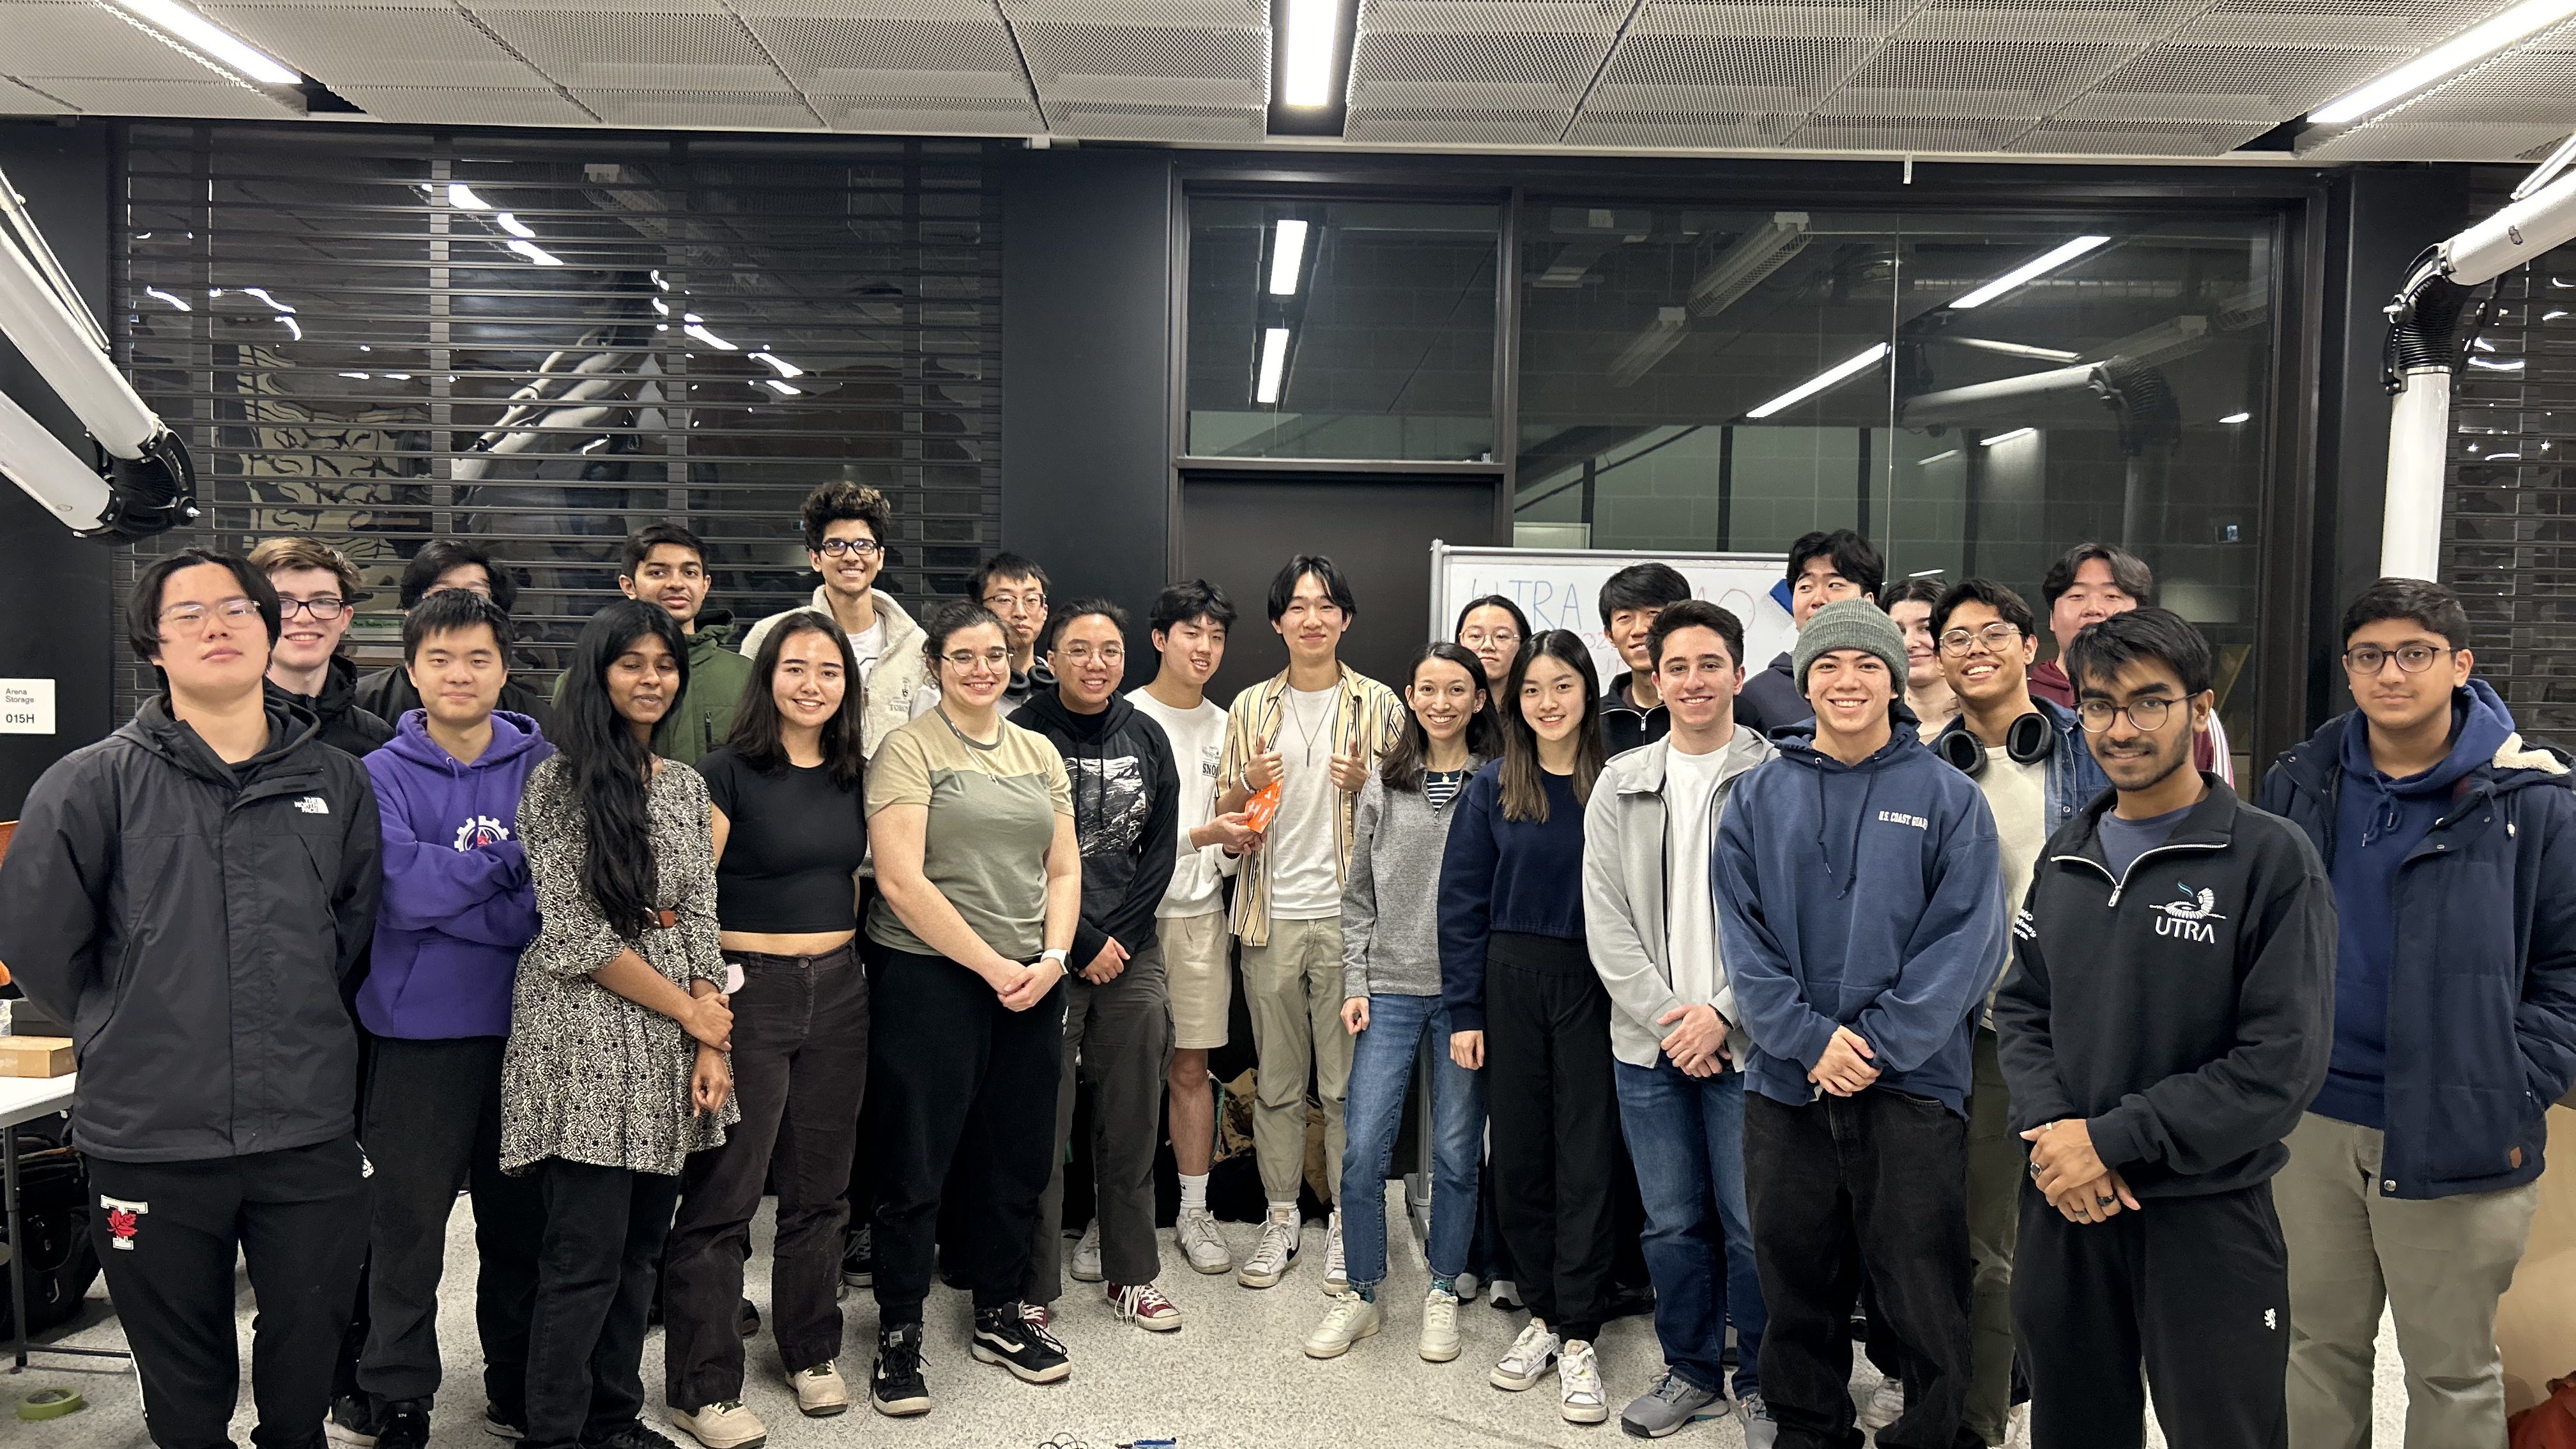
UTRA SUMO
When I was doing the George Brown Machining Course, one of the people that I worked with was Brendan. During the course, Brendan informed me that he was an upper-year mechanical engineering student, which was great because I wanted to transfer into mechanical engineering from materials science and engineering. Additionally, I was looking for extracurricular activities to pursue, and Brendan happened to be the Project Manager for the UofT Robotics Association (UTRA) SUMO division. And so, I gathered a couple of my friends, and decided to sign up for SUMO. Although SUMO may seem like a basic project, this project taught me a lot about collaboration, adaptability, and just having fun while doing work. The skills I learned doing UTRA SUMO can be directly applied to future roles in the mechatronics industry. I hope that this page acts as a snapshot for my progress with designing for 3D printing, Arduino, and teamwork!
SUMO 2023-2024
The first thing our team did was research. This included looking at professional SUMO matches to see what strategies different teams used, carefully analyzing the rules and constraints for our robot, and looking at Fusion360 tutorials to make CADing the SUMO robot easier. This allowed us to create some specifications for our robot.

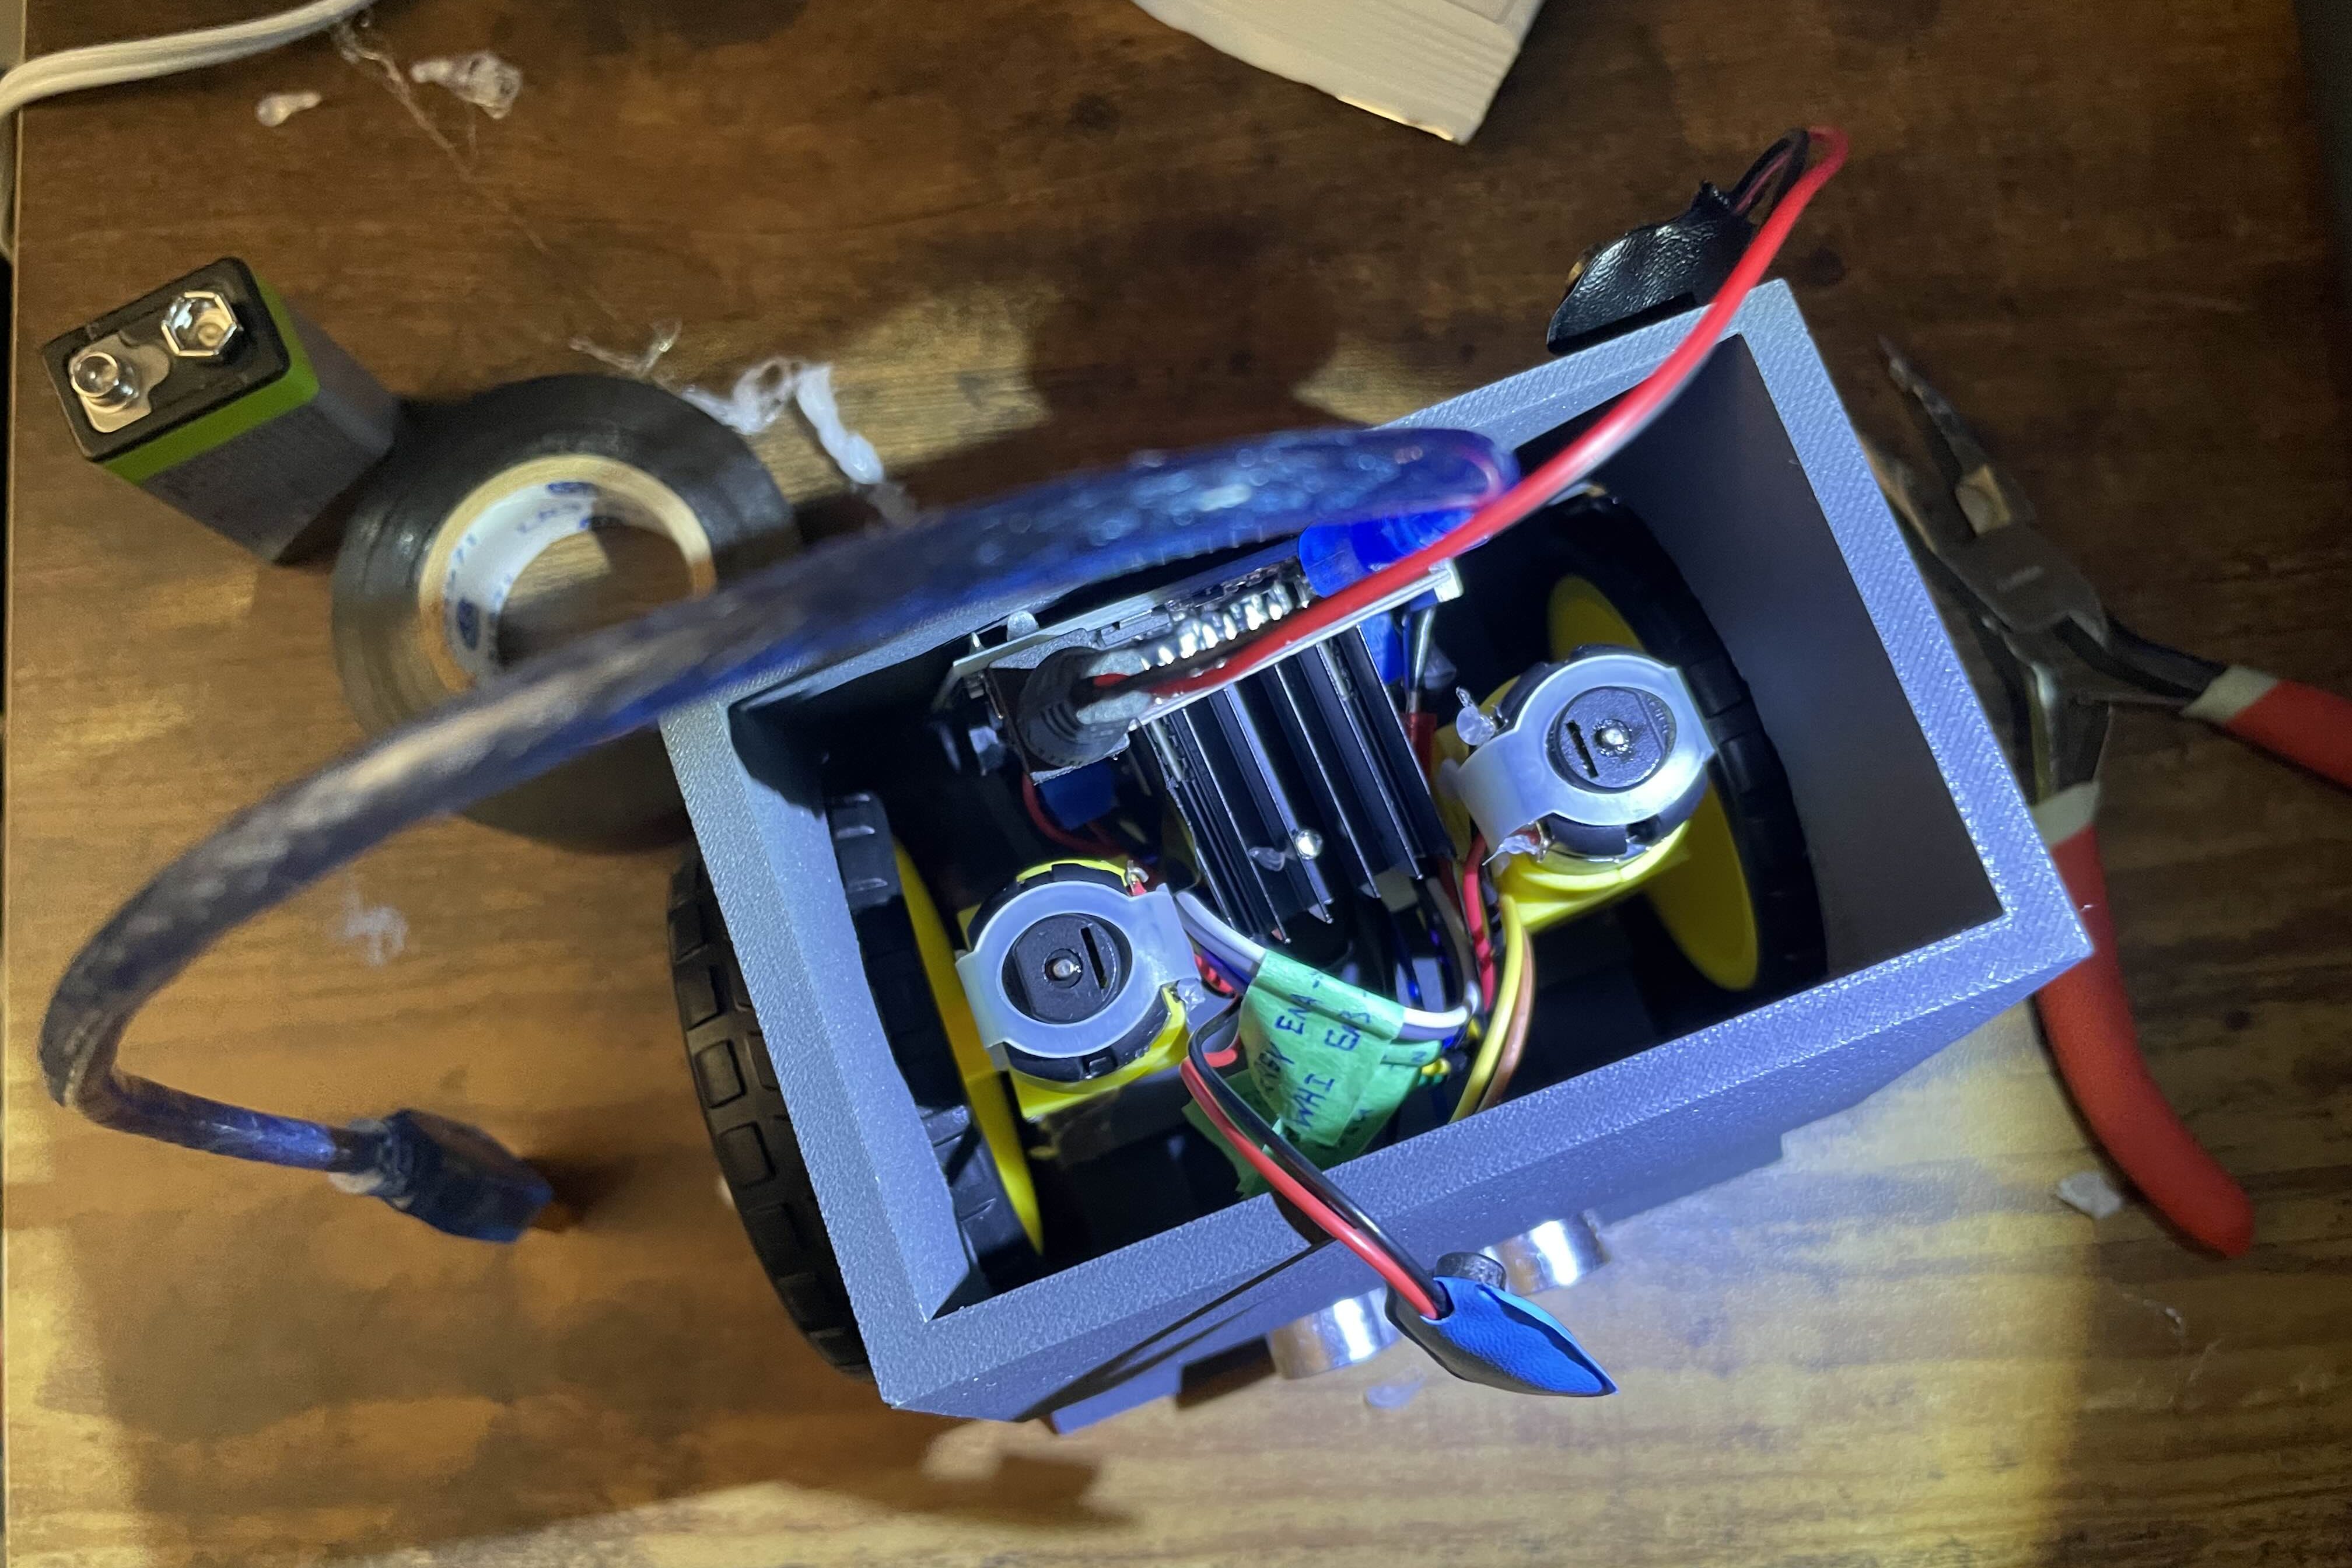
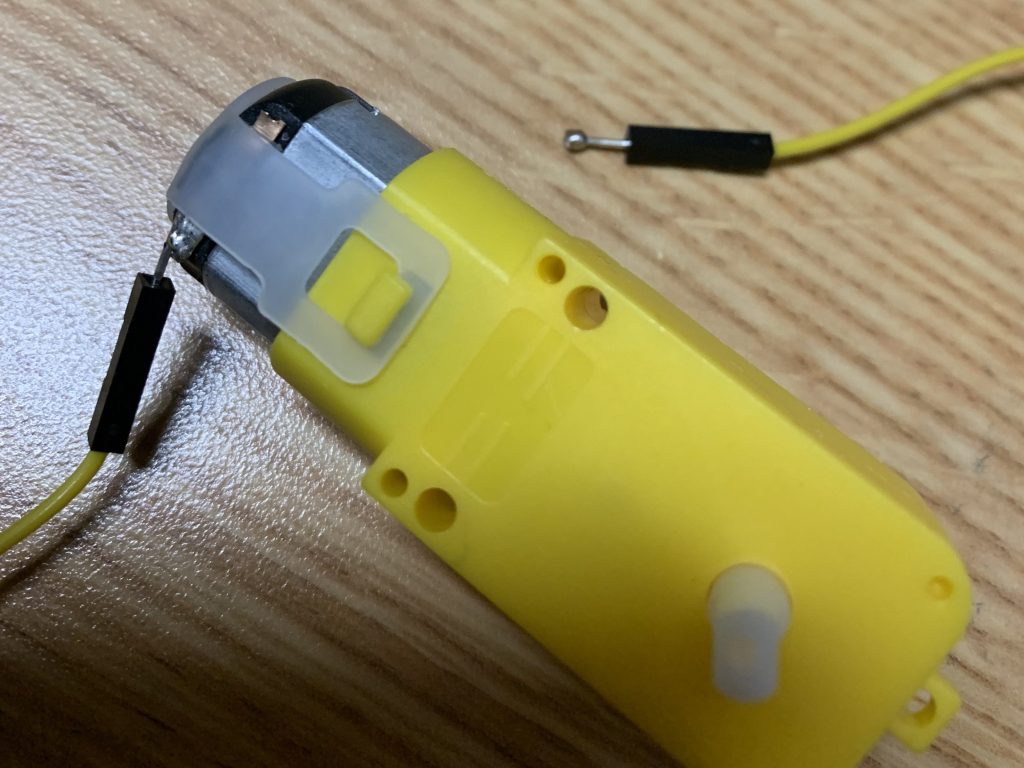
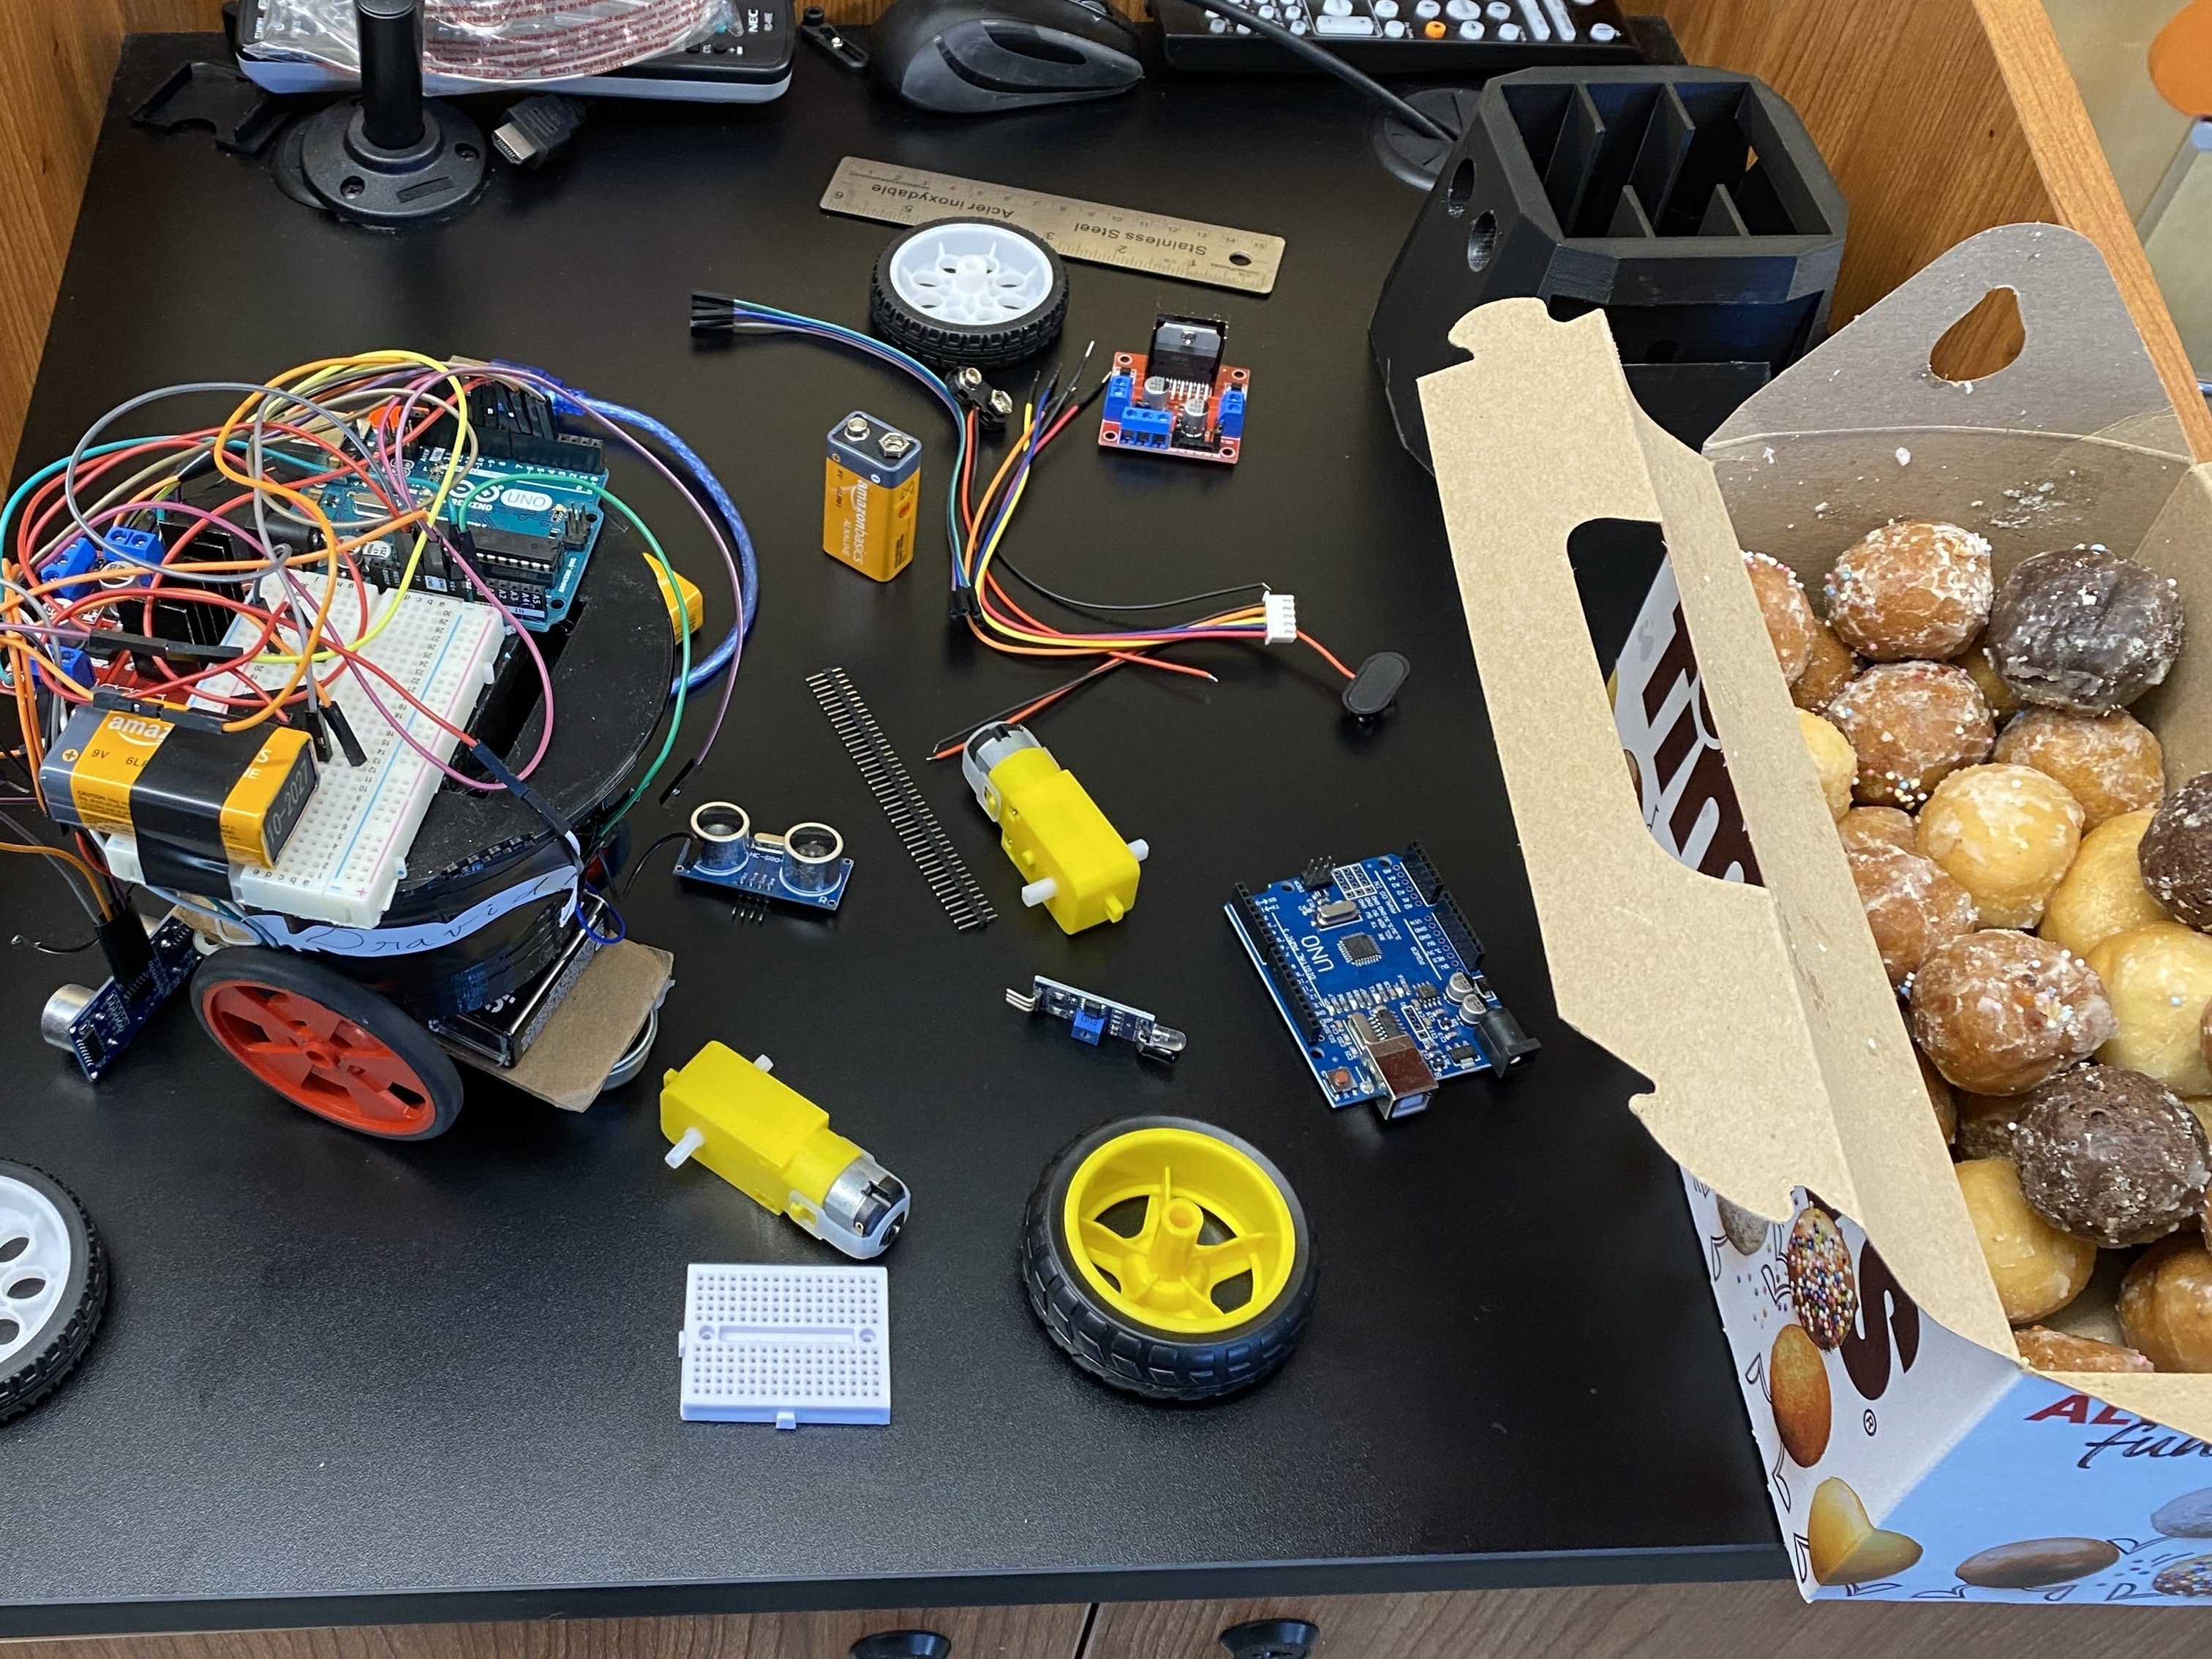
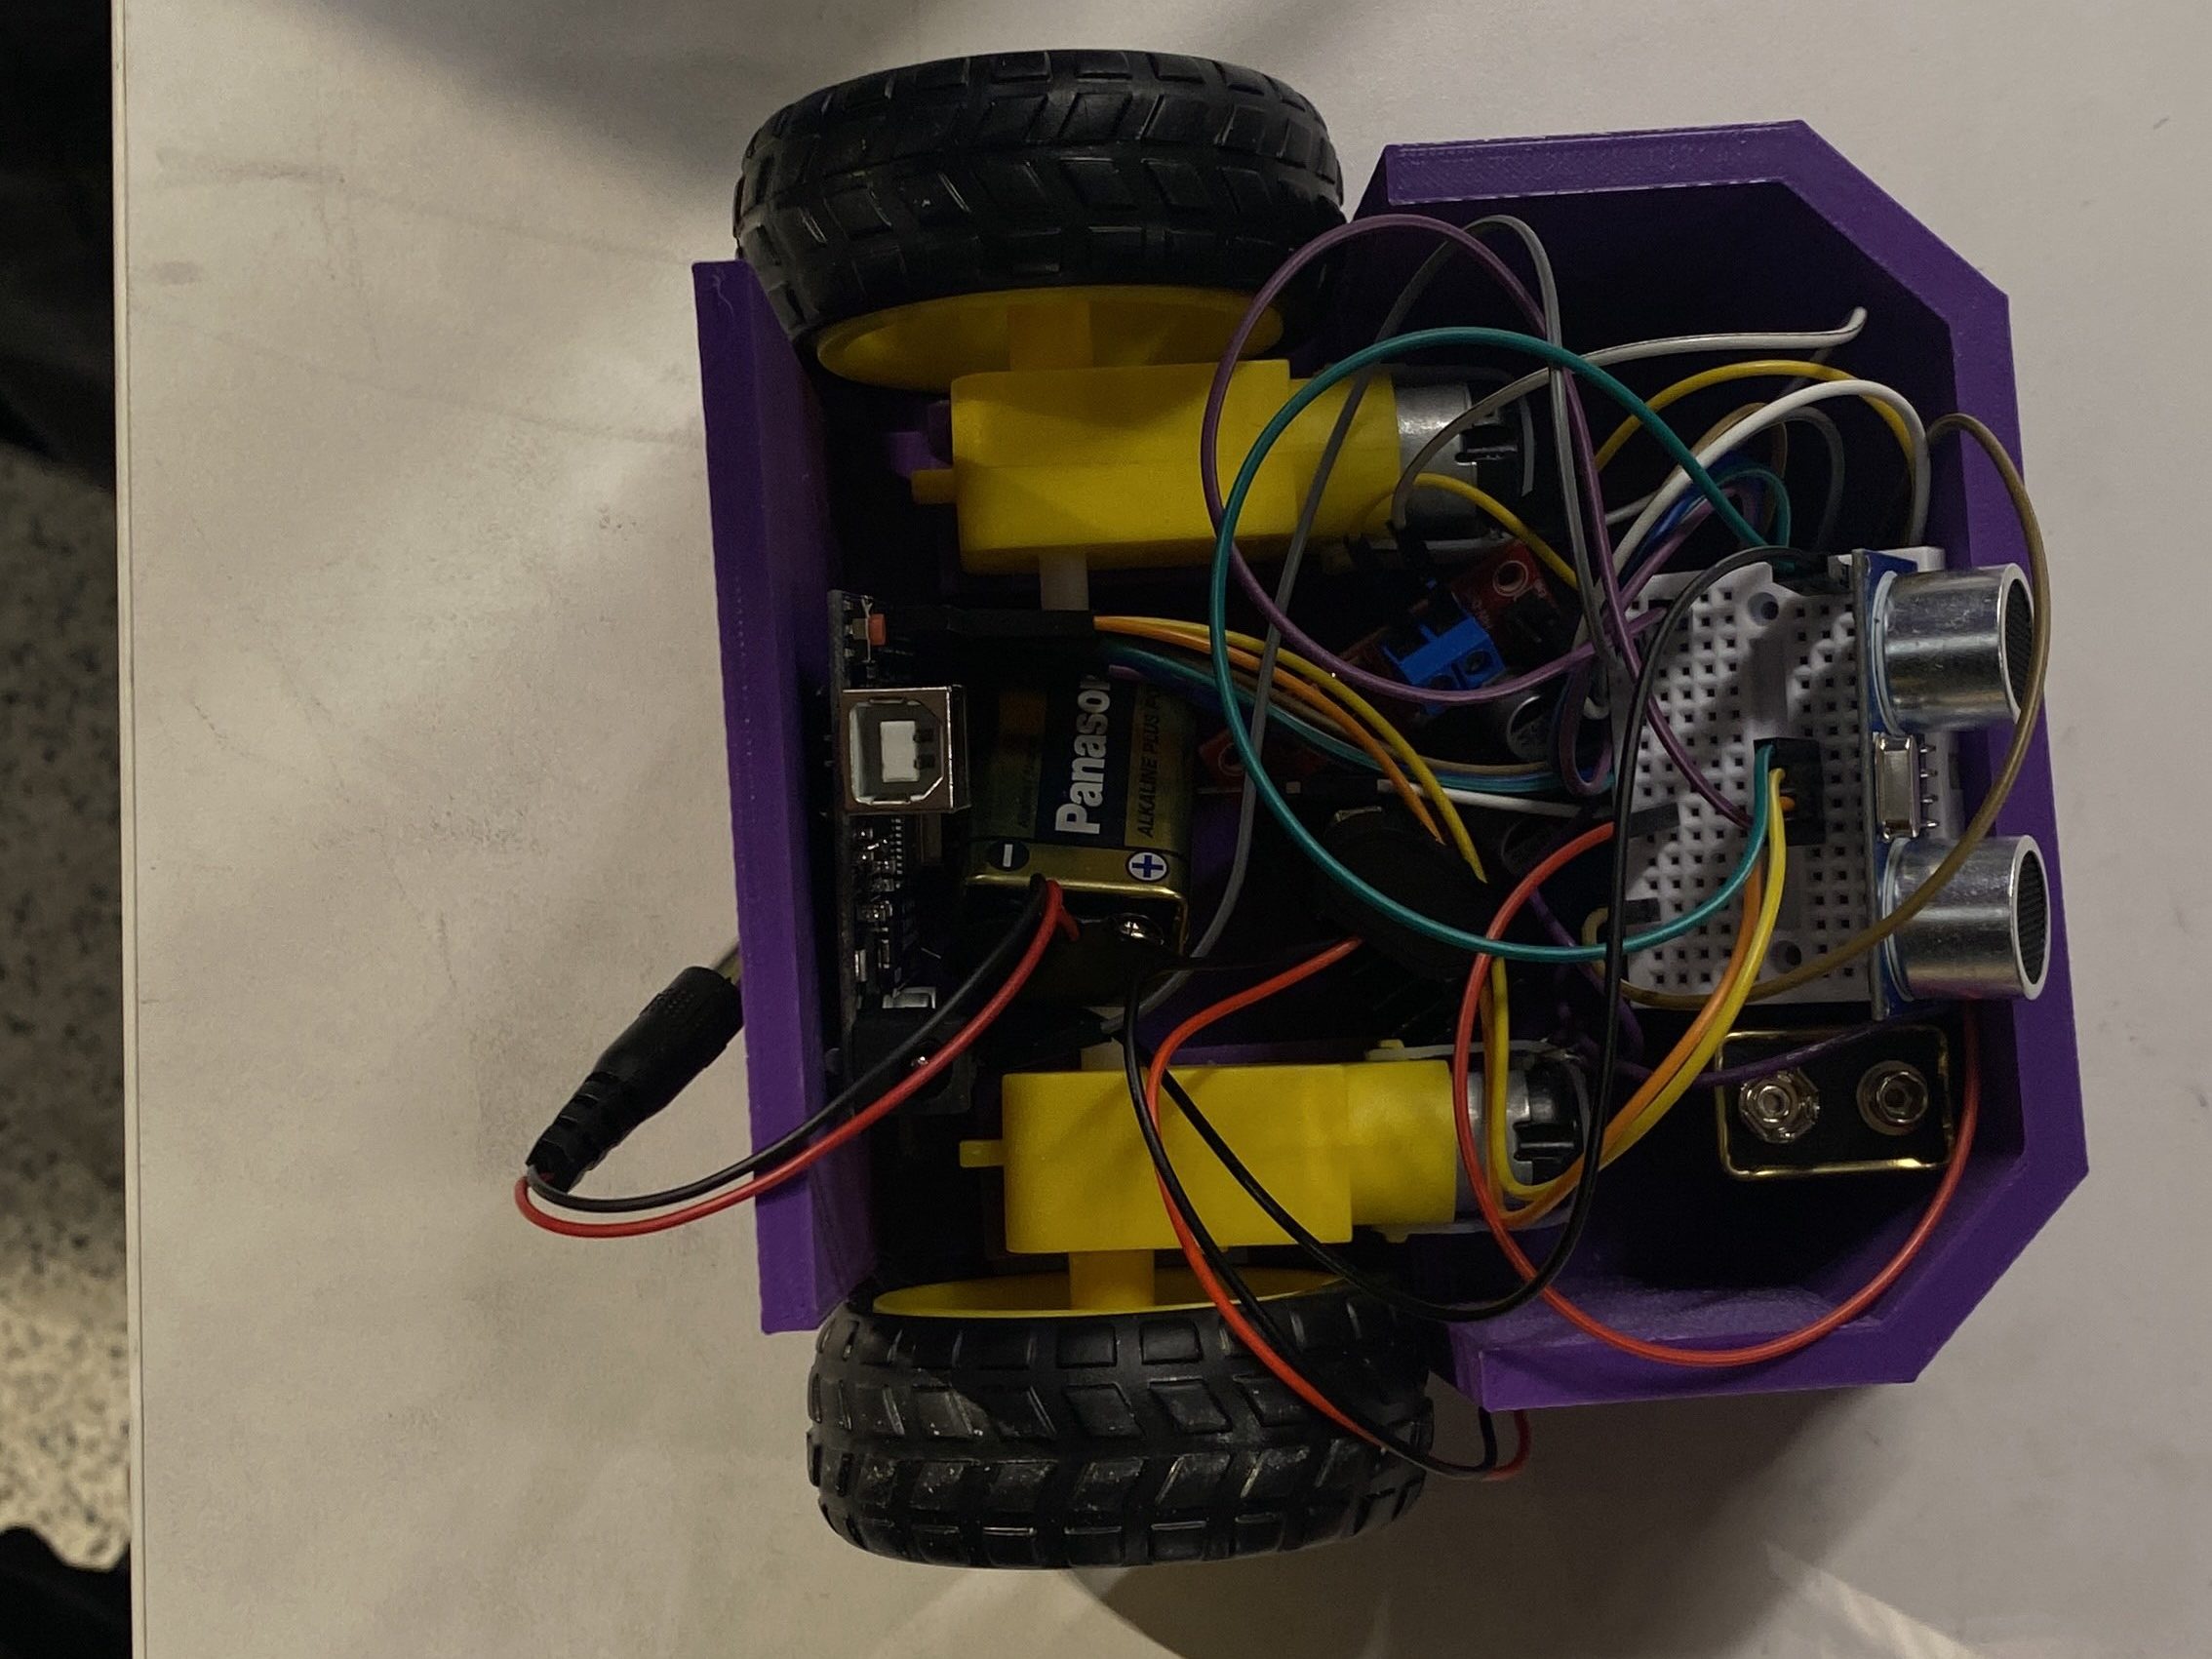
Once we CADed the robot in Fusion360 and Brendan 3D printed the robot at the MyFab facility, we instantly ran into a couple issues. First of all, I may or may not have forgotten to add eye holes for the robot. Another issue that we faced is that we had to solder the motors SO many times because the wires snapped off so many times. Finally, we were having a lot of difficulties with getting the code to run consistently because there was a lot of variance between tests. Even if we did not change anything in the code, the robot would perform different. But it was alright, as we had a finished robot the day before the competition!
And then came the competition day, the day of the SUMO in-house tournament. During the competition, we ended up falling into the lower bracket in our first match. However, we then proceeded to win our next 5 matches, and we ended up in the final. Our strategy was pretty simple for the tournament: run in circles, let the enemy robot get too close to the edge, and then push the enemy robot out of the ring! Overall, our team had a blast competing in our in-house tournament!

SUMO 2024-2025
During the 2024-2025 year, I decided to do SUMO again. Sure, it is a bit more of a beginner-friendly activity, but it is also so fun. Justin and I stayed on our team, and we wanted to be more of advisors to our team, letting the newer teammates make the major decisions. We did a lot of reflecting on what worked well and what went wrong. Additionally, we had to adjust to a slightly different ruleset for this year.

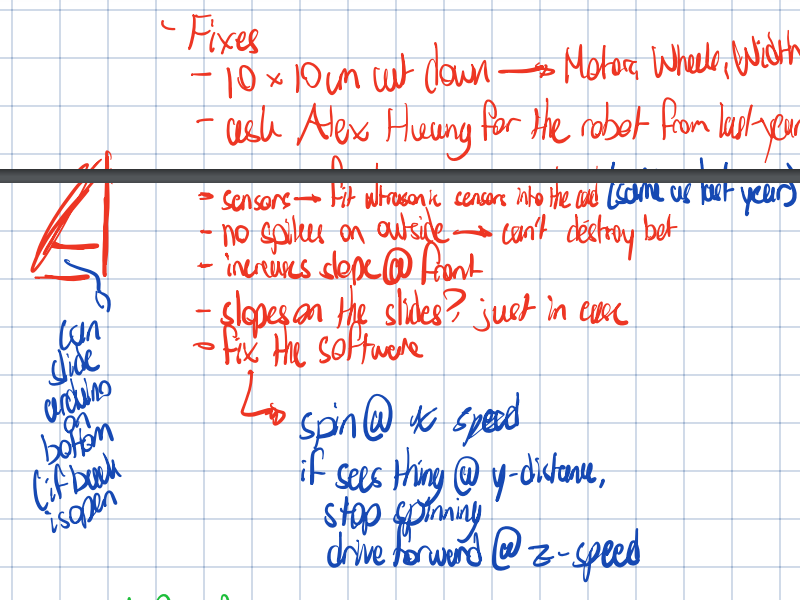
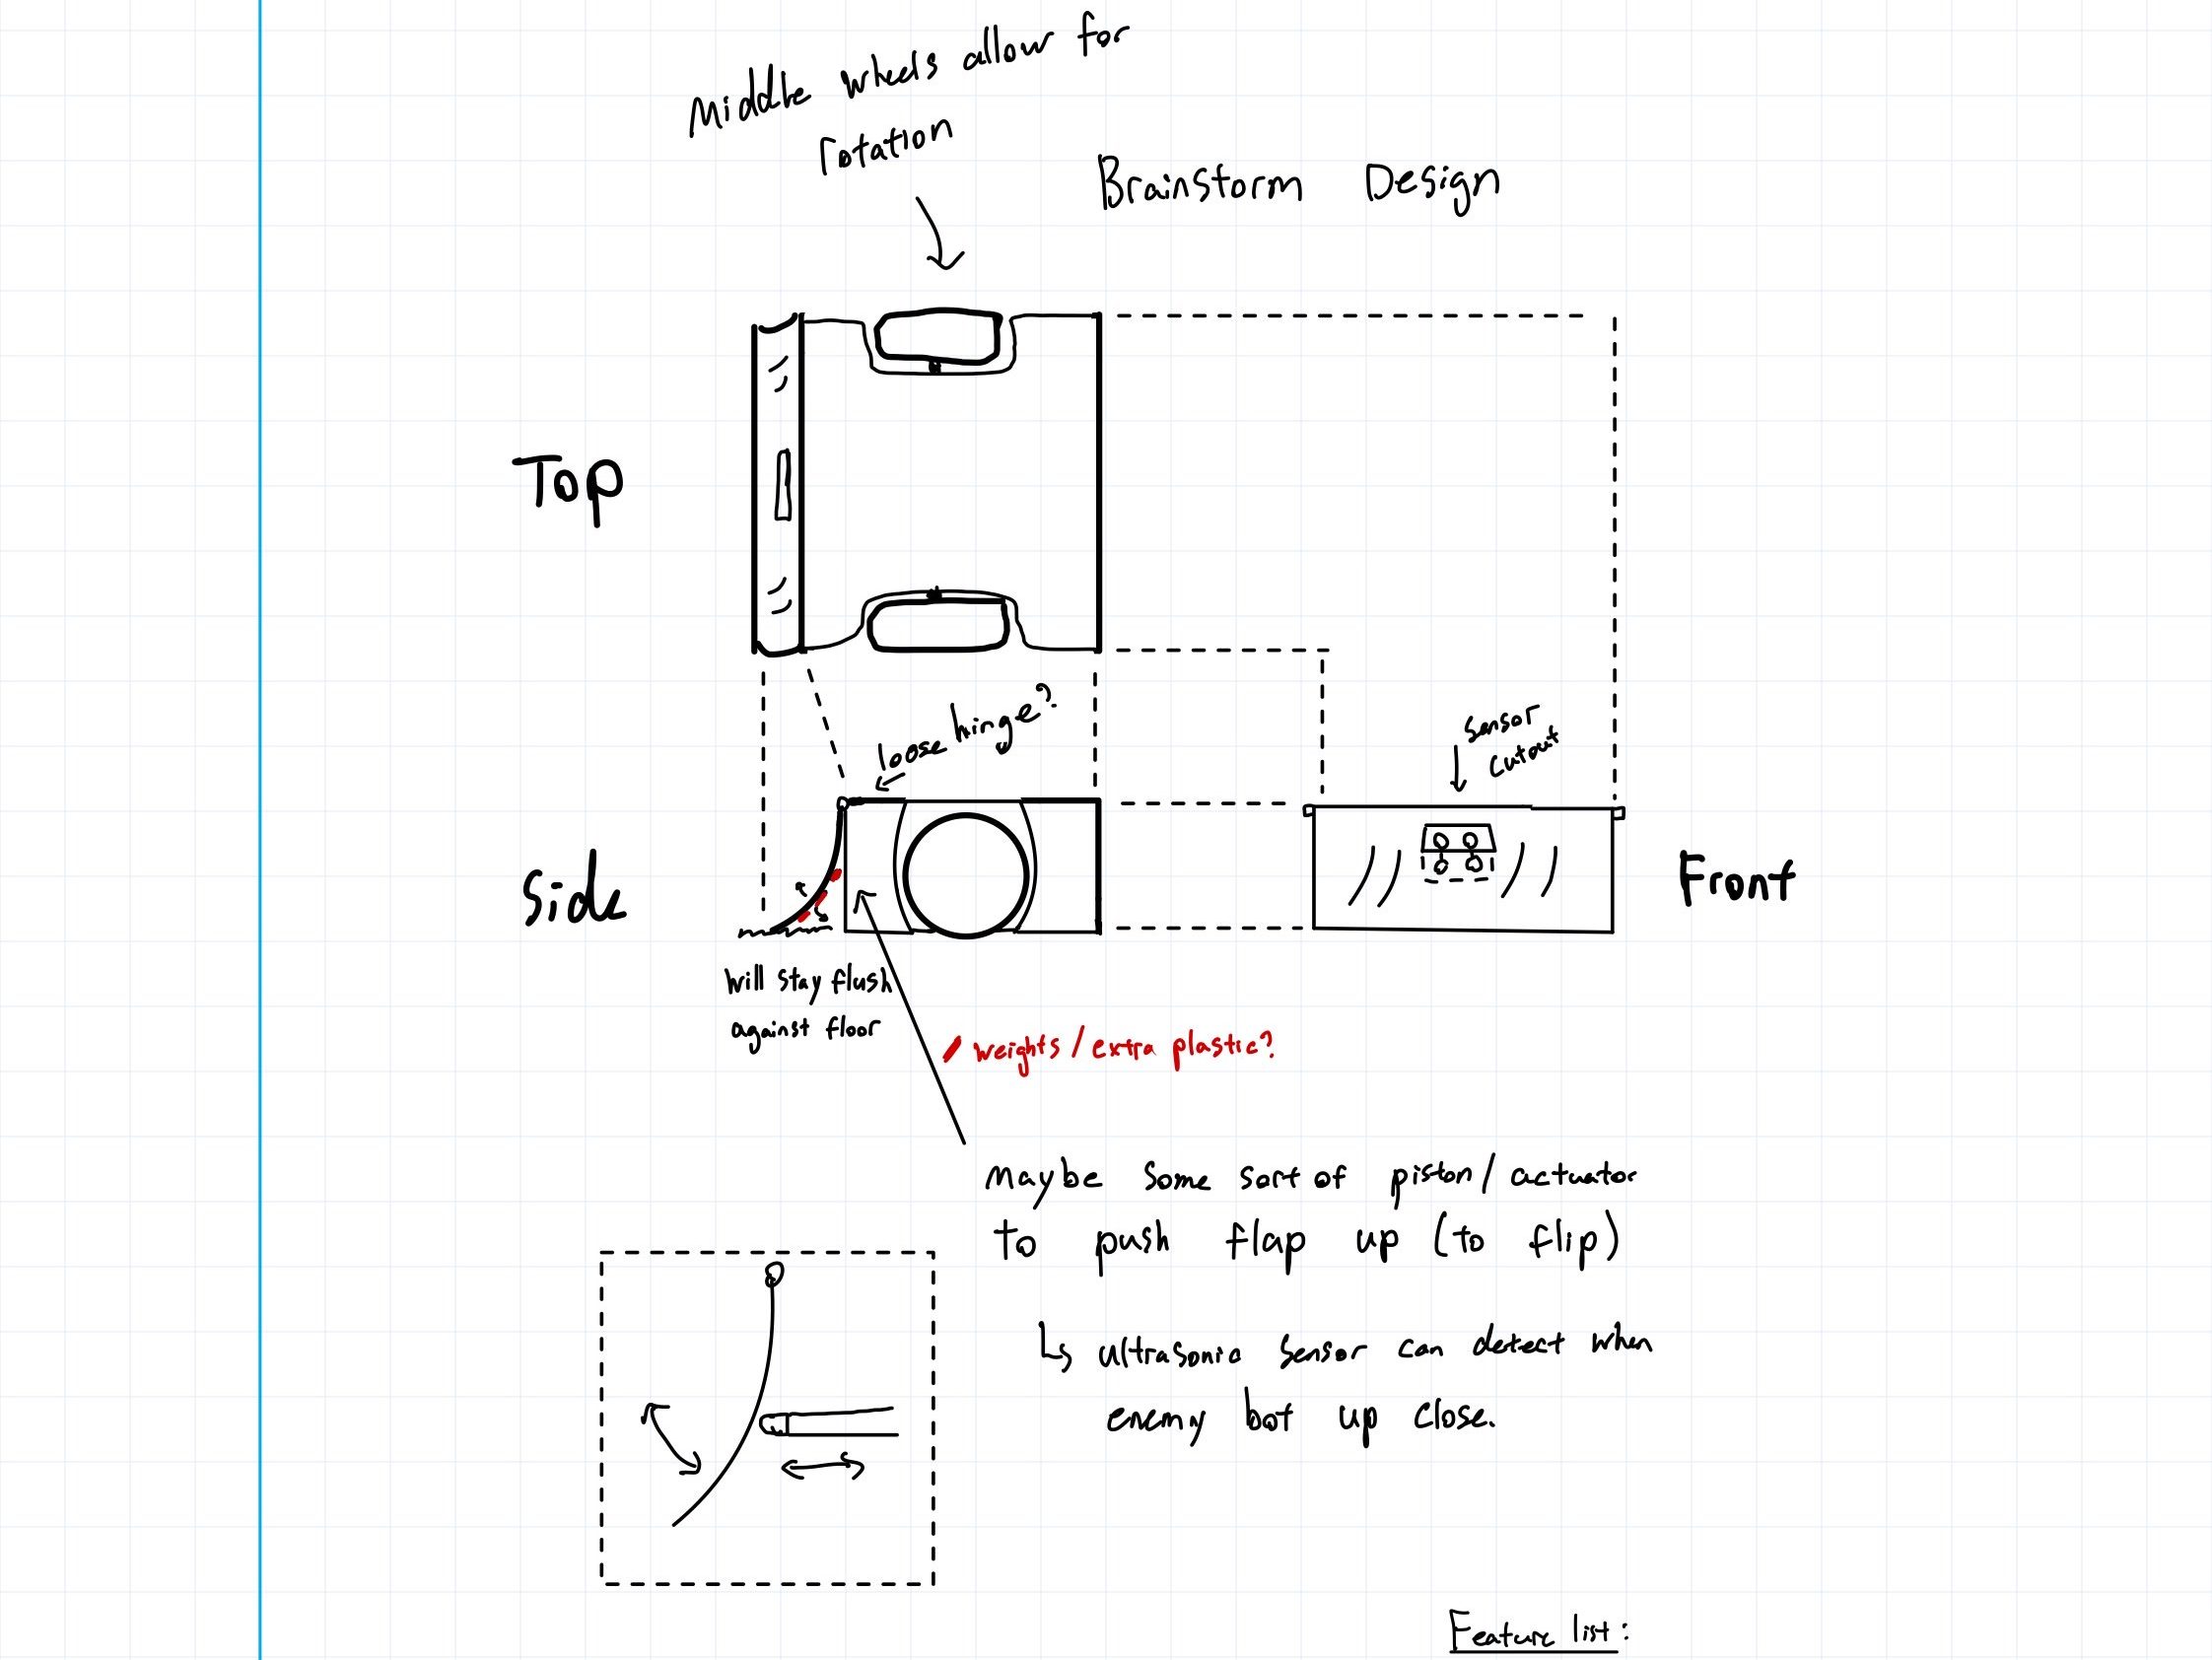
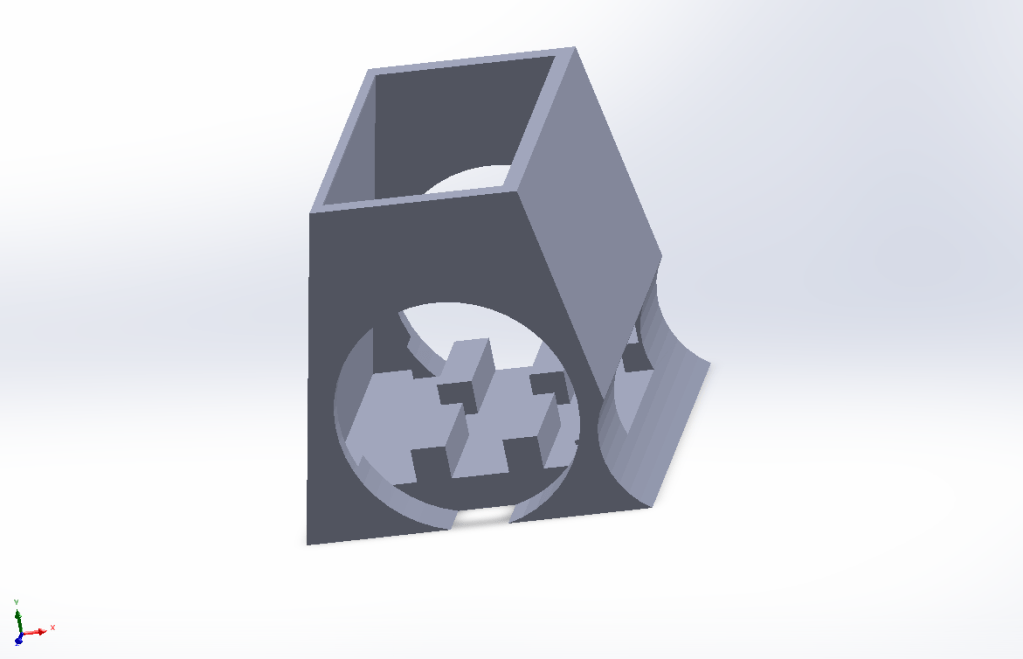
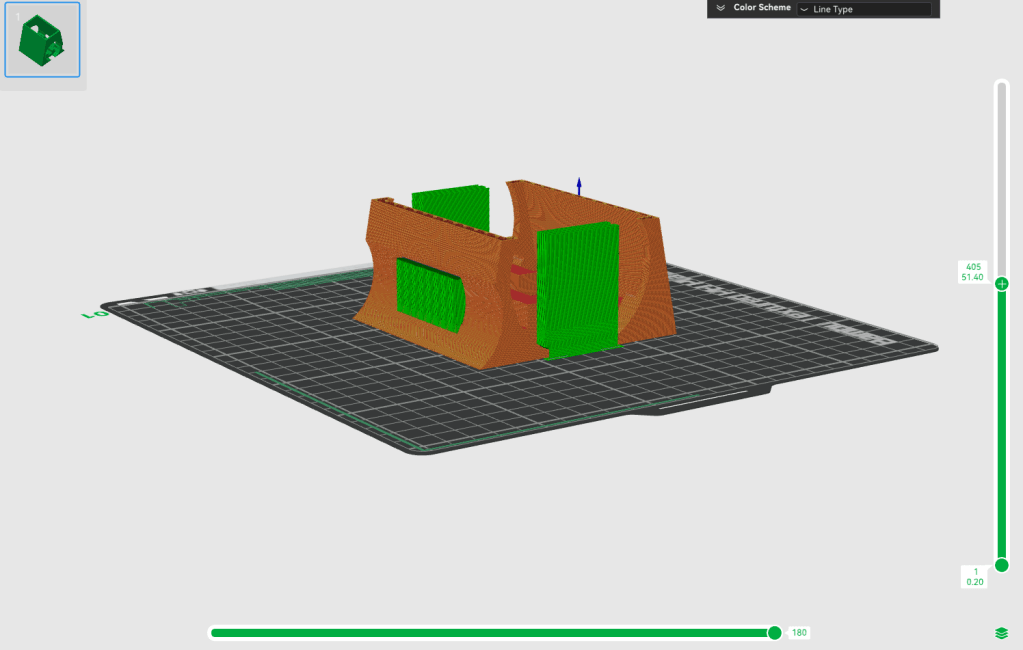
After finalizing the design for the robot for the 2024-2025 school year, our next step was to design the vehicle using Solidworks. While I did not myself CAD the vehicle, I did provide my team with as much insight as I could on how to design for 3D printing. Having CADed our robot for the 2023-2024 season, I wanted to help my teammates learn as much as they could about designing for 3D printing as possible. During the CAD process, I advised my team about things such as elephant’s foot to ensure that our 3D print would turn out better than it did last year. One issue that we ran into was just that we could not find linear actuators for our design, and our design would not fit in the required 10×10 area. Therefore, we had to make some changes to our design. However, I think that the design turned out quite well.