UTRA ART

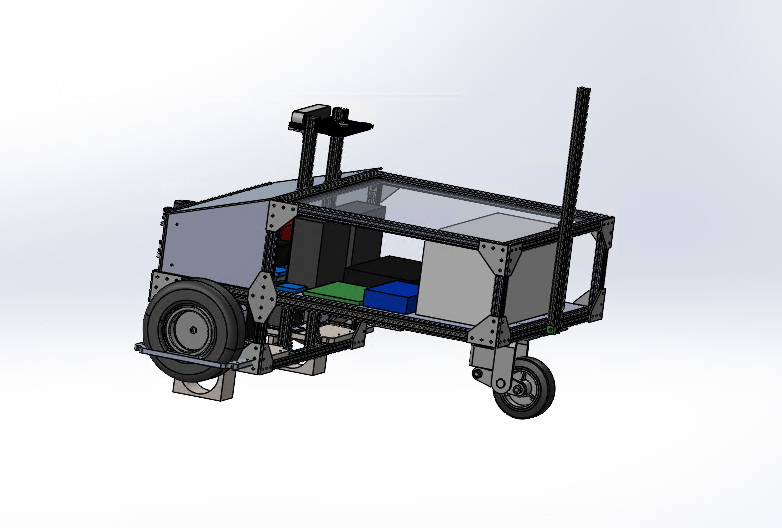
One of the amazing teams at the UofT Robotics Association is ART, or the autonomous rover team. As you may imagine, the autonomous rover team is tasked with creating a rover that can move autonomously through an obstacle course. UTRA ART’s current robot is named Espresso, and competes in the Intelligent Ground Vehicle Competition (IGVC). Here is some of the work I have done with the UTRA ART team!


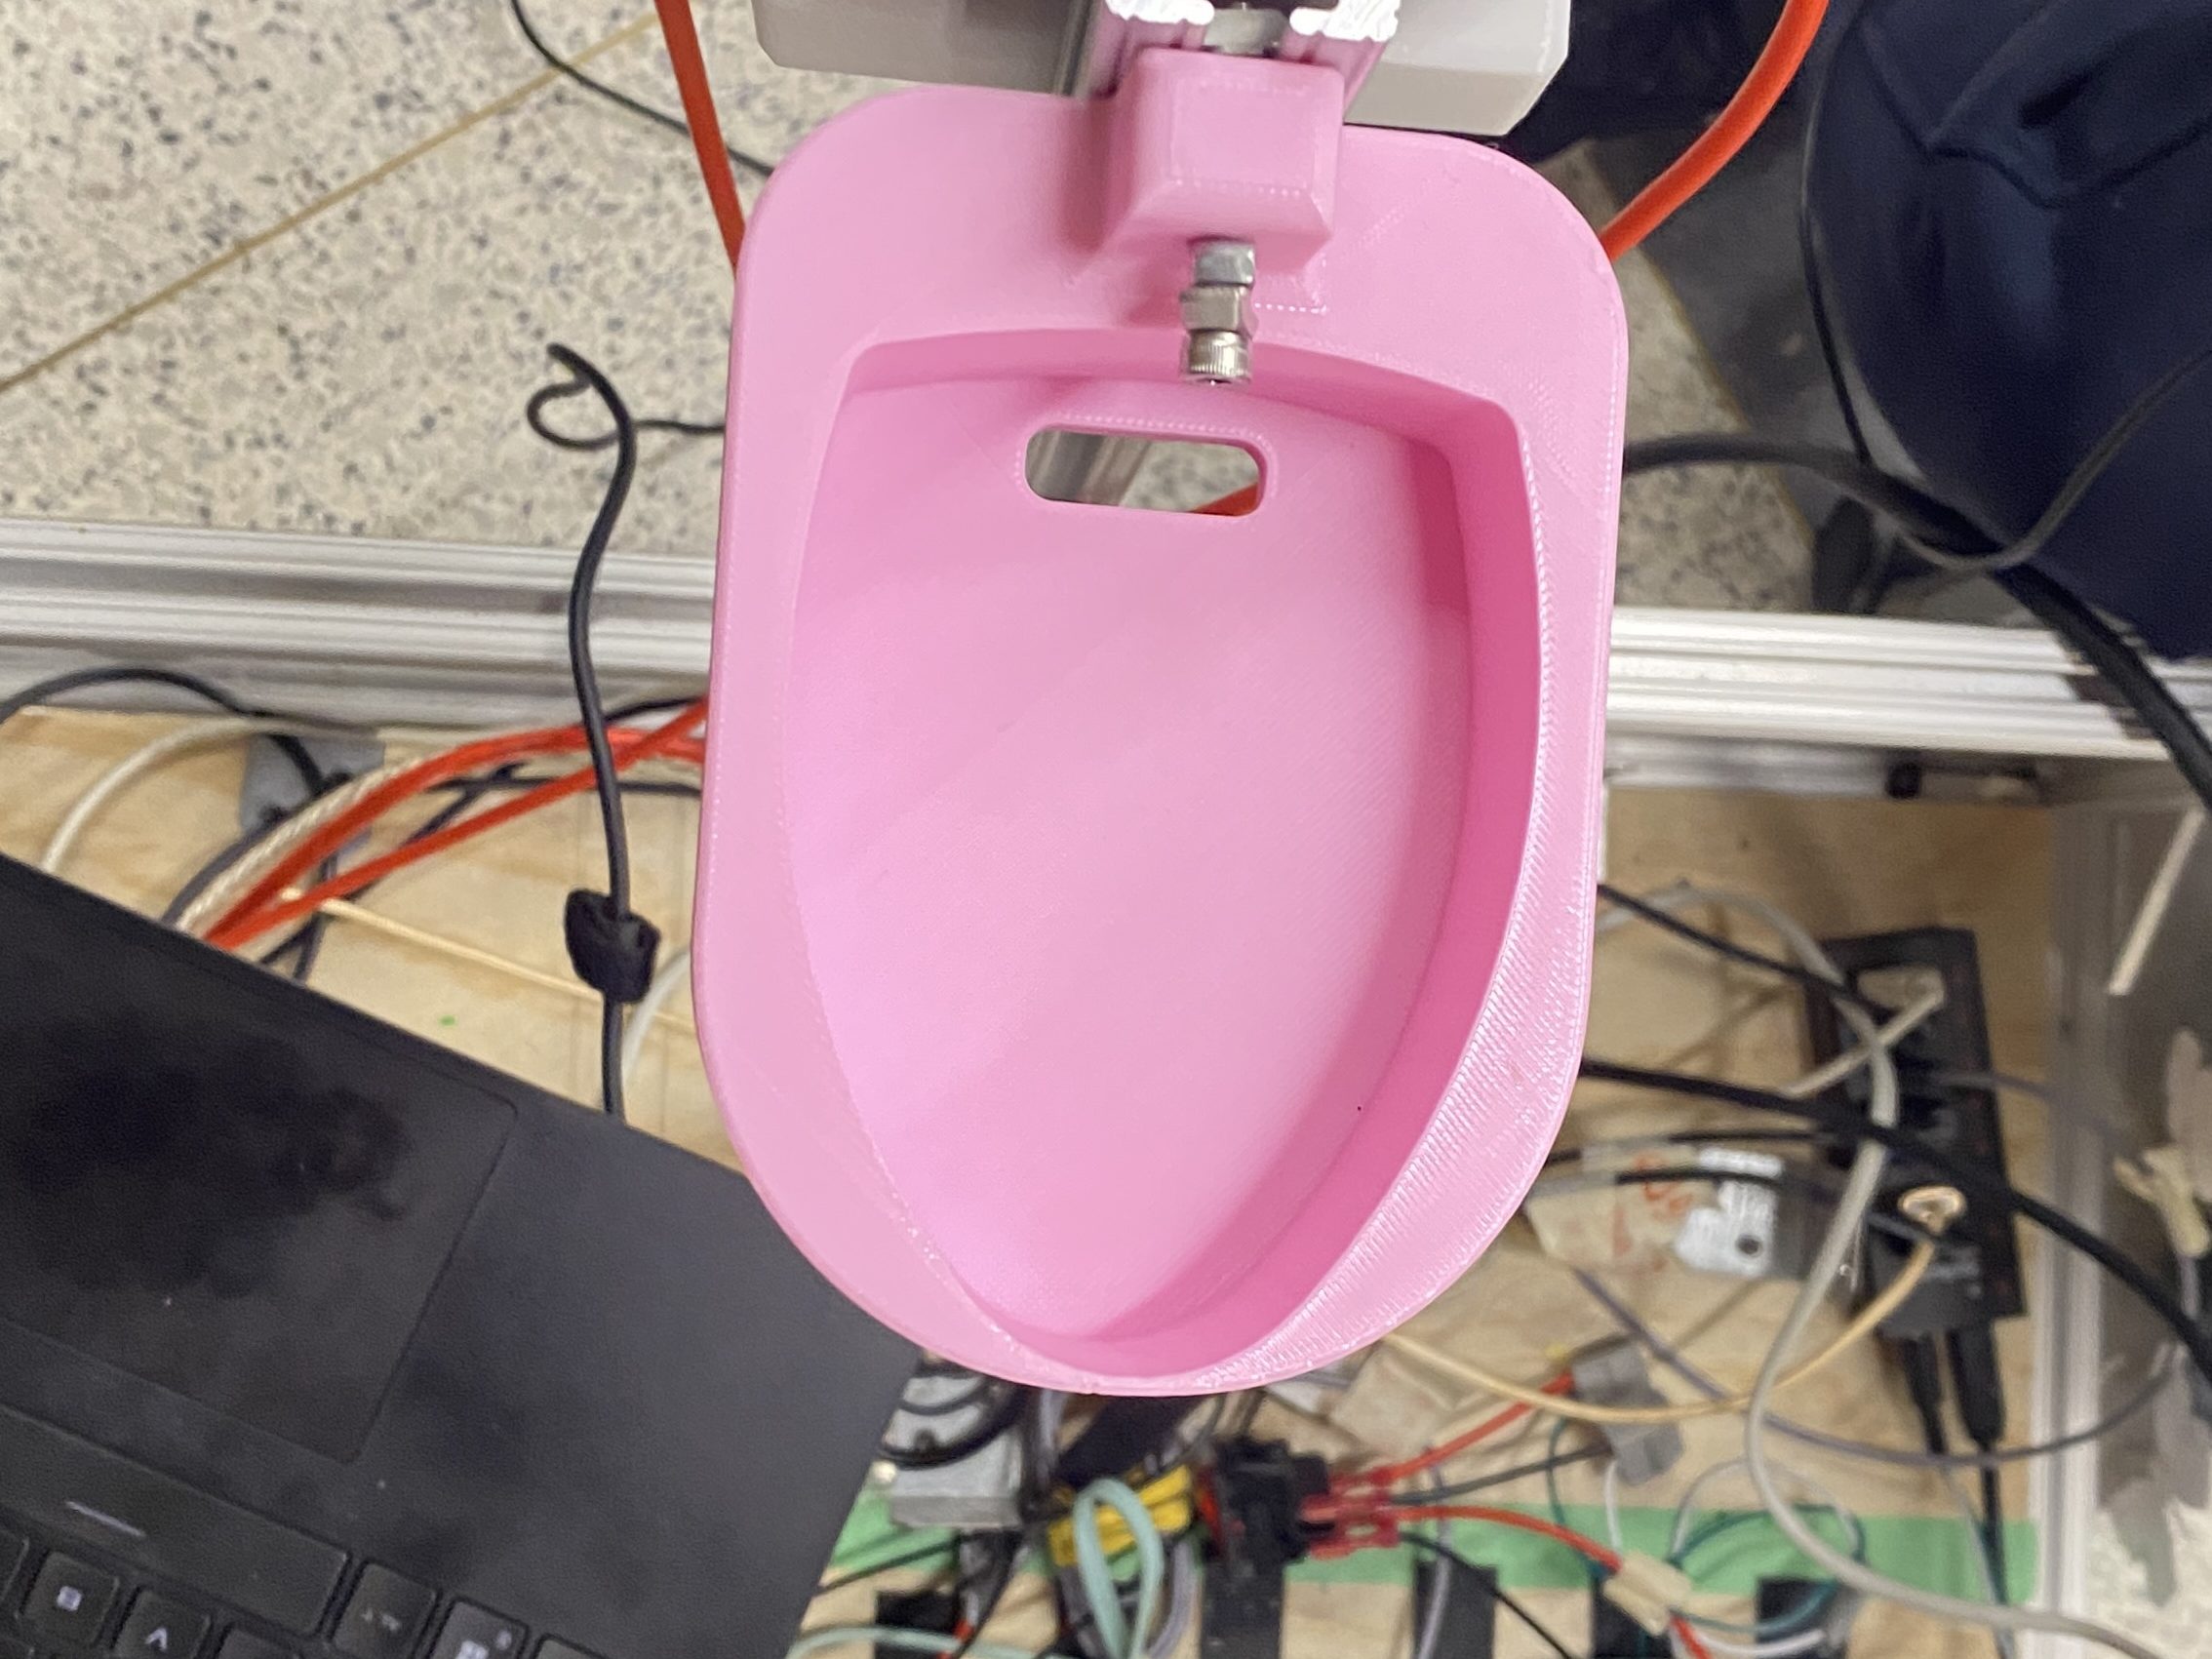
Emergency Stop Mounting System

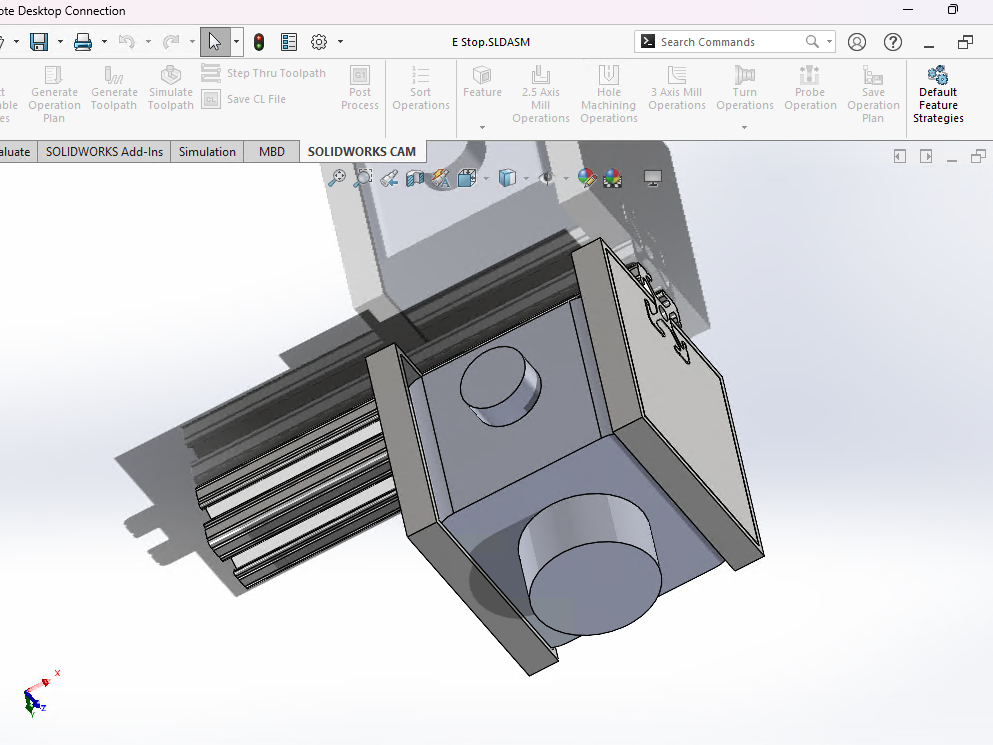
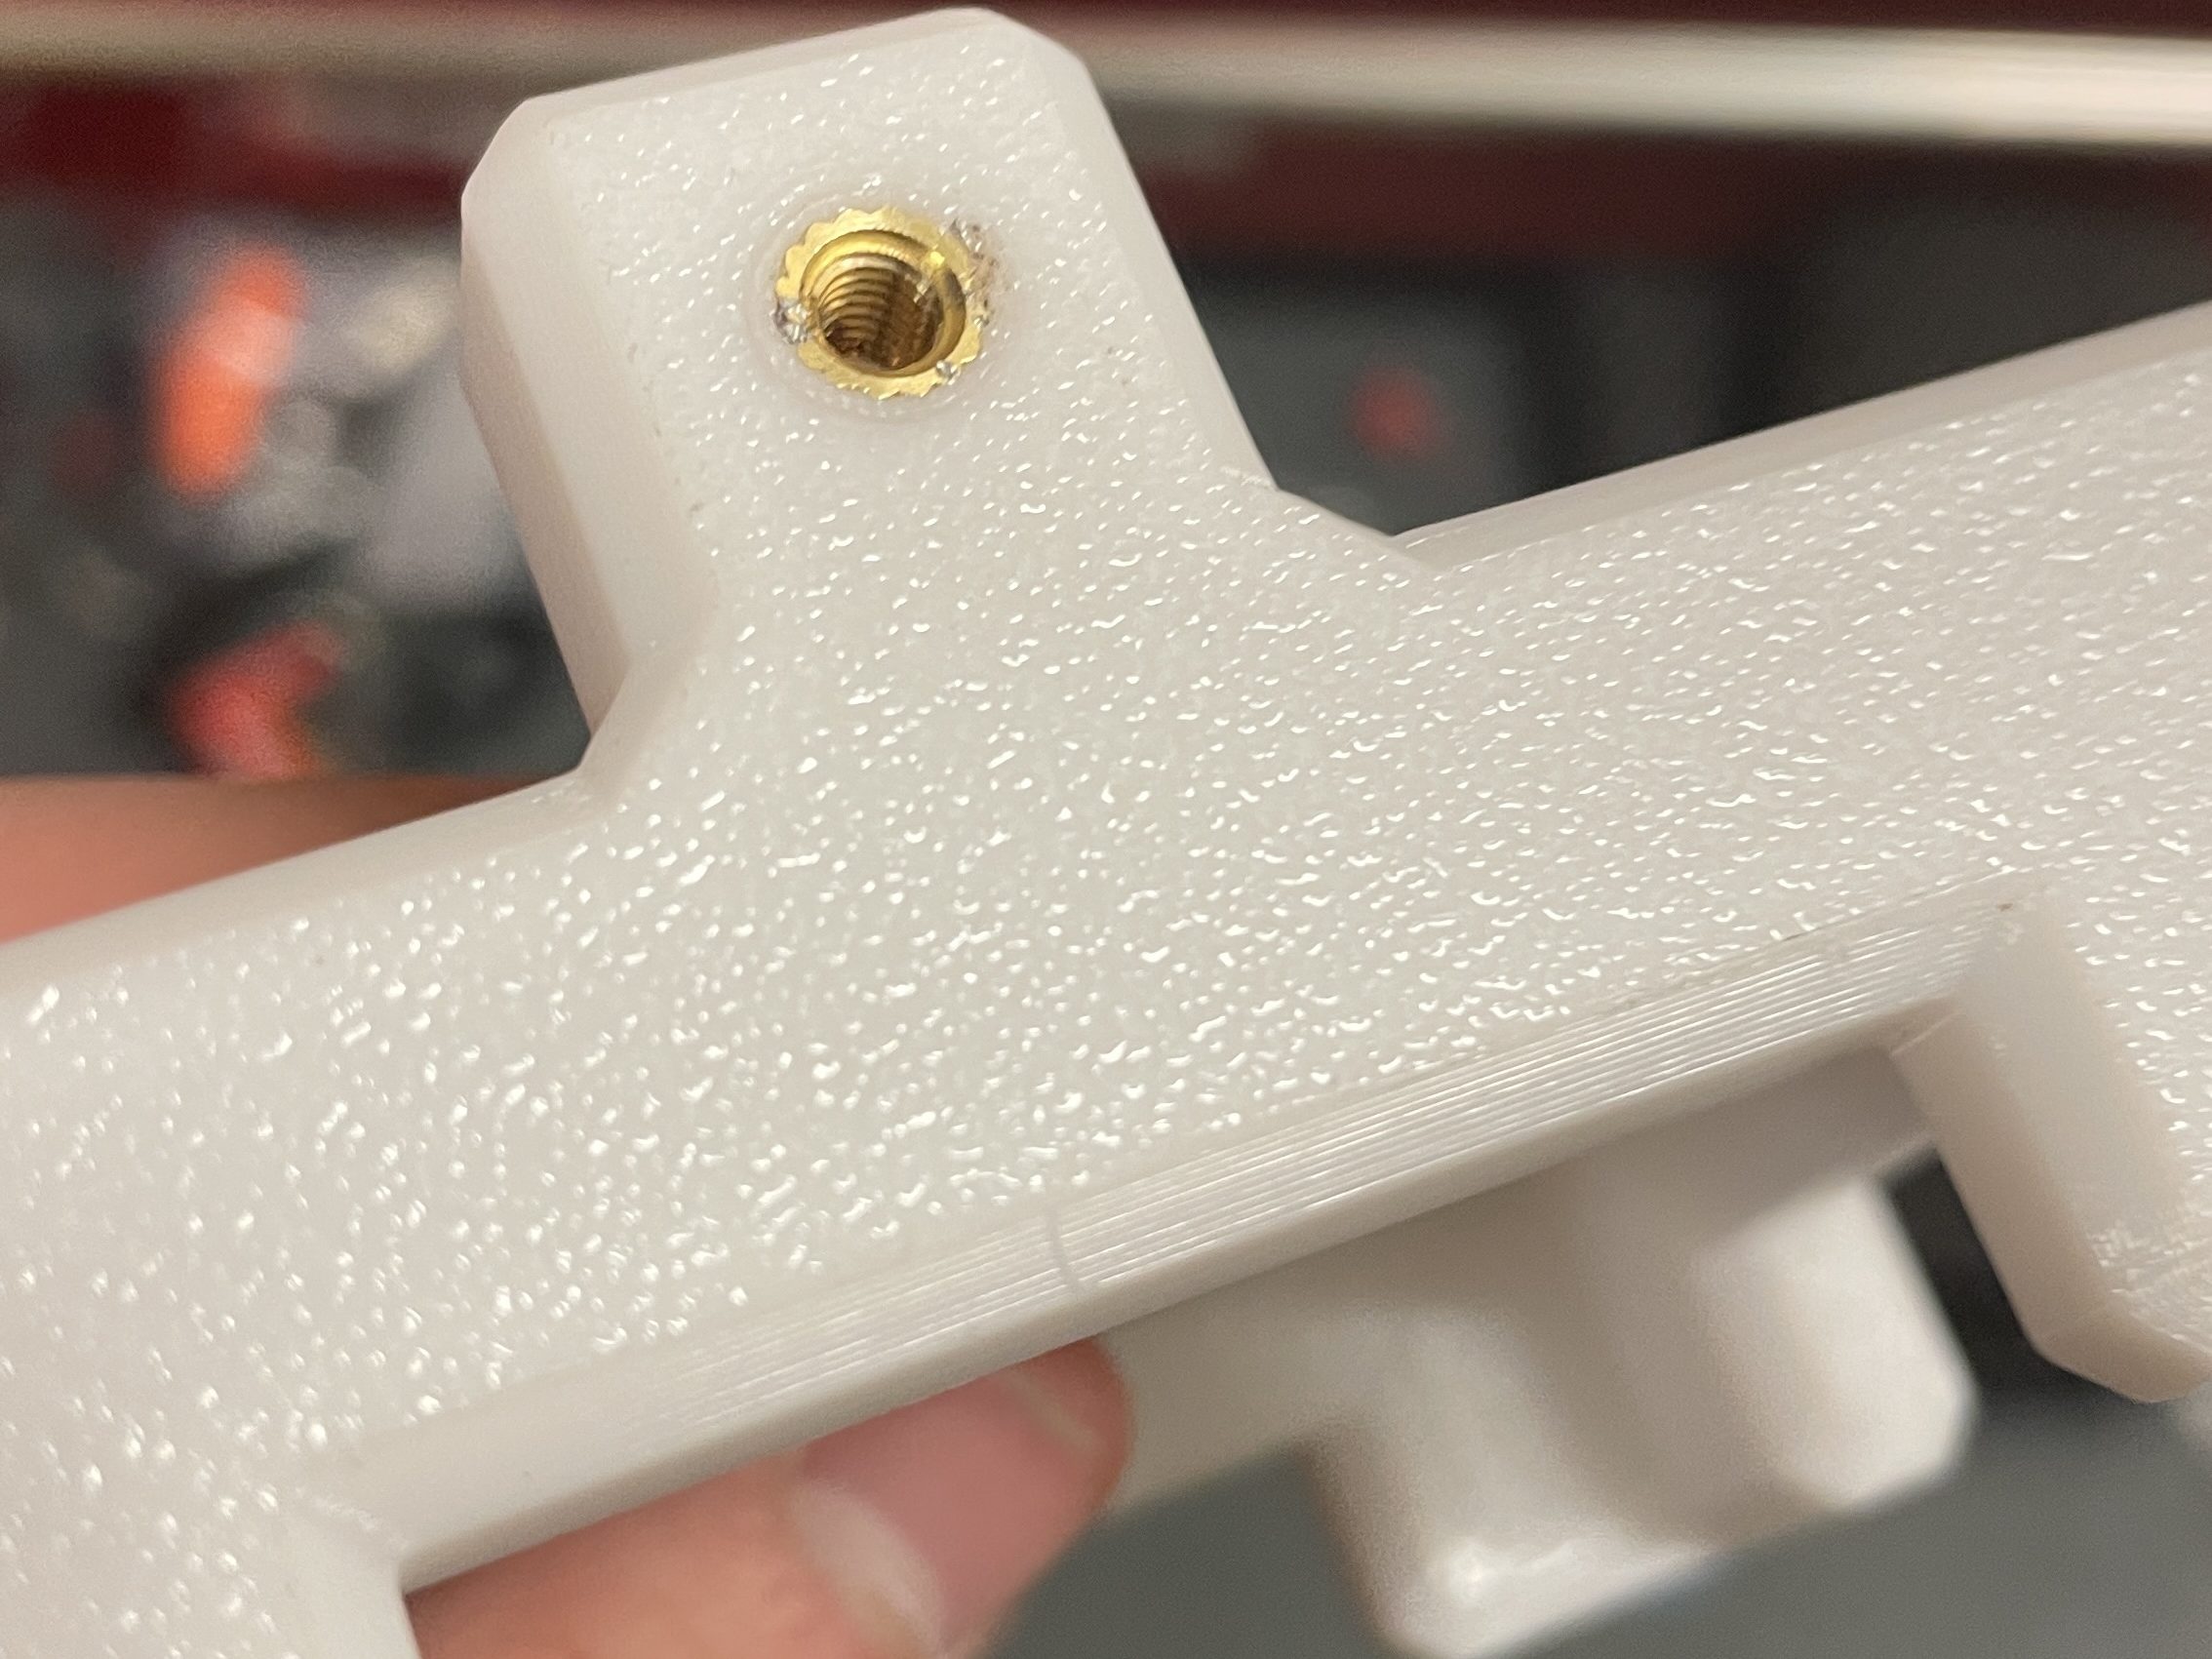
The first task I decided to take on was improving the mounting for the emergency stop system. When I joined ART, the emergency stop was literally held on by just one screw and a boat-load of double-sided tape. I wanted to make something that was a little bit nicer, and a lot easier to disassemble.

A rough idea for improving the E-Stop mounts. instead of using tape and praying it will hold, the E-stop is mounted using a 3D-printed part that slides into the T-Slot. While this idea was alright, using a pretty fit meant that there was no guarantee that the mounts would stay sturdy.
An improved version of the emergency stop mounting system. For this design, we can use heat-set inserts to screw the mounts to the t-slot instead of press-fitting the mounts, which is much more secure. For this iteration, I worked with Kareem, who is studying mechanical engineering, on his PEY year.
After finalizing the design, Viv, one of the mech team leads, quickly printed out one of the mounts using PLA and lightning infill. This means that the amount of infill is quite low, which reduces print time. In this situation, I was mainly concerned with the shape and fit, so infill was not necessary. Furthermore, we used PLA because it was cheaper and we had a lot of it. For the final mounts, we are going to use PETG, which is UV resistant and can handle higher heat.
Applying the heat set inserts to the final print. This print was done using PETG, before using these brass M4 heat set inserts. It was really cool seeing how thermal properties can be leveraged in real life, because when you learn about thermal expansion in class, it is hard to really see where it would be applicable in real life. To see something I learned in the classroom applied to real life was extremely cool.
The final design for the emergency stop mounting system, in action. Even though this mount seems quite simple, even improving it to make it look nice and like some effort was put in will be good for the presentation of Espresso.

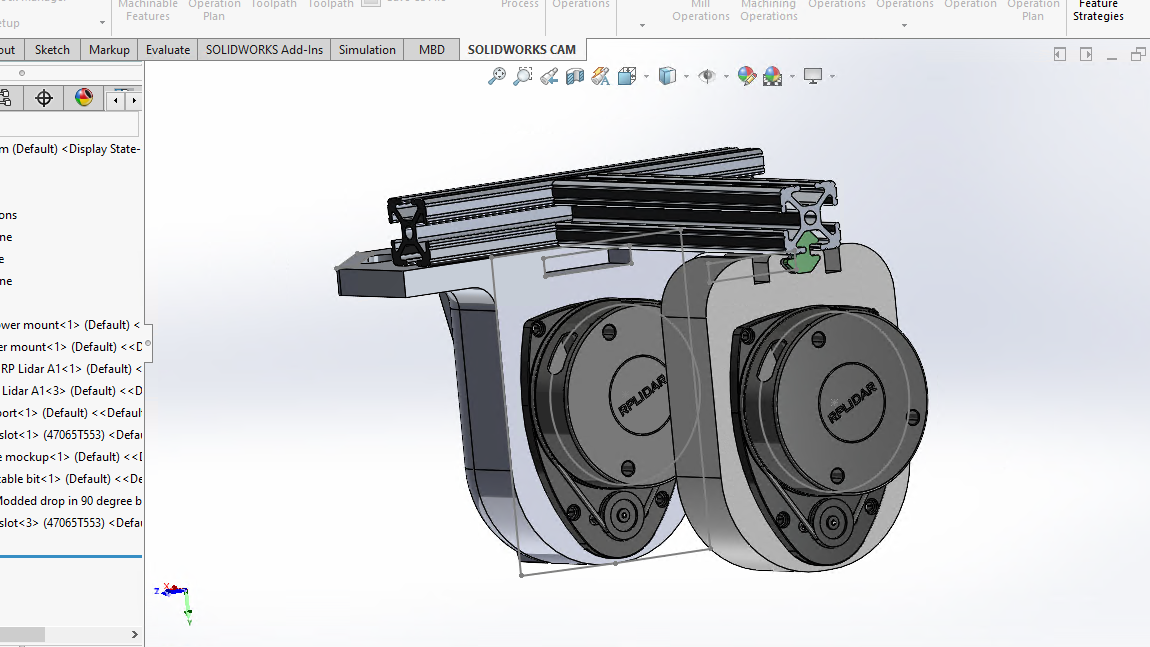
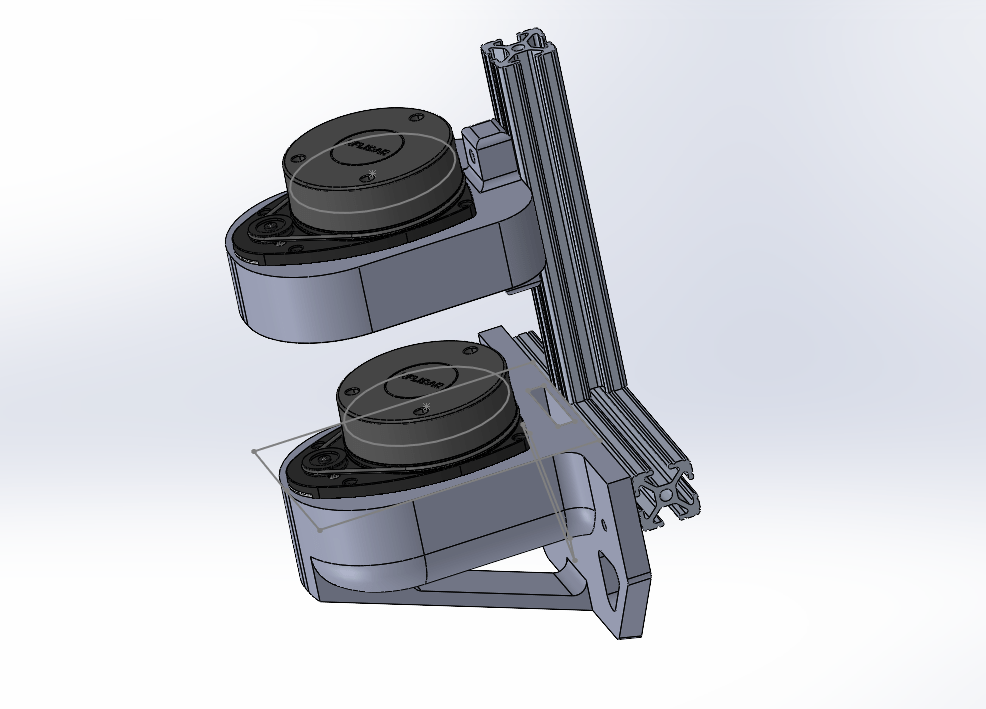
LiDAR Mounting System

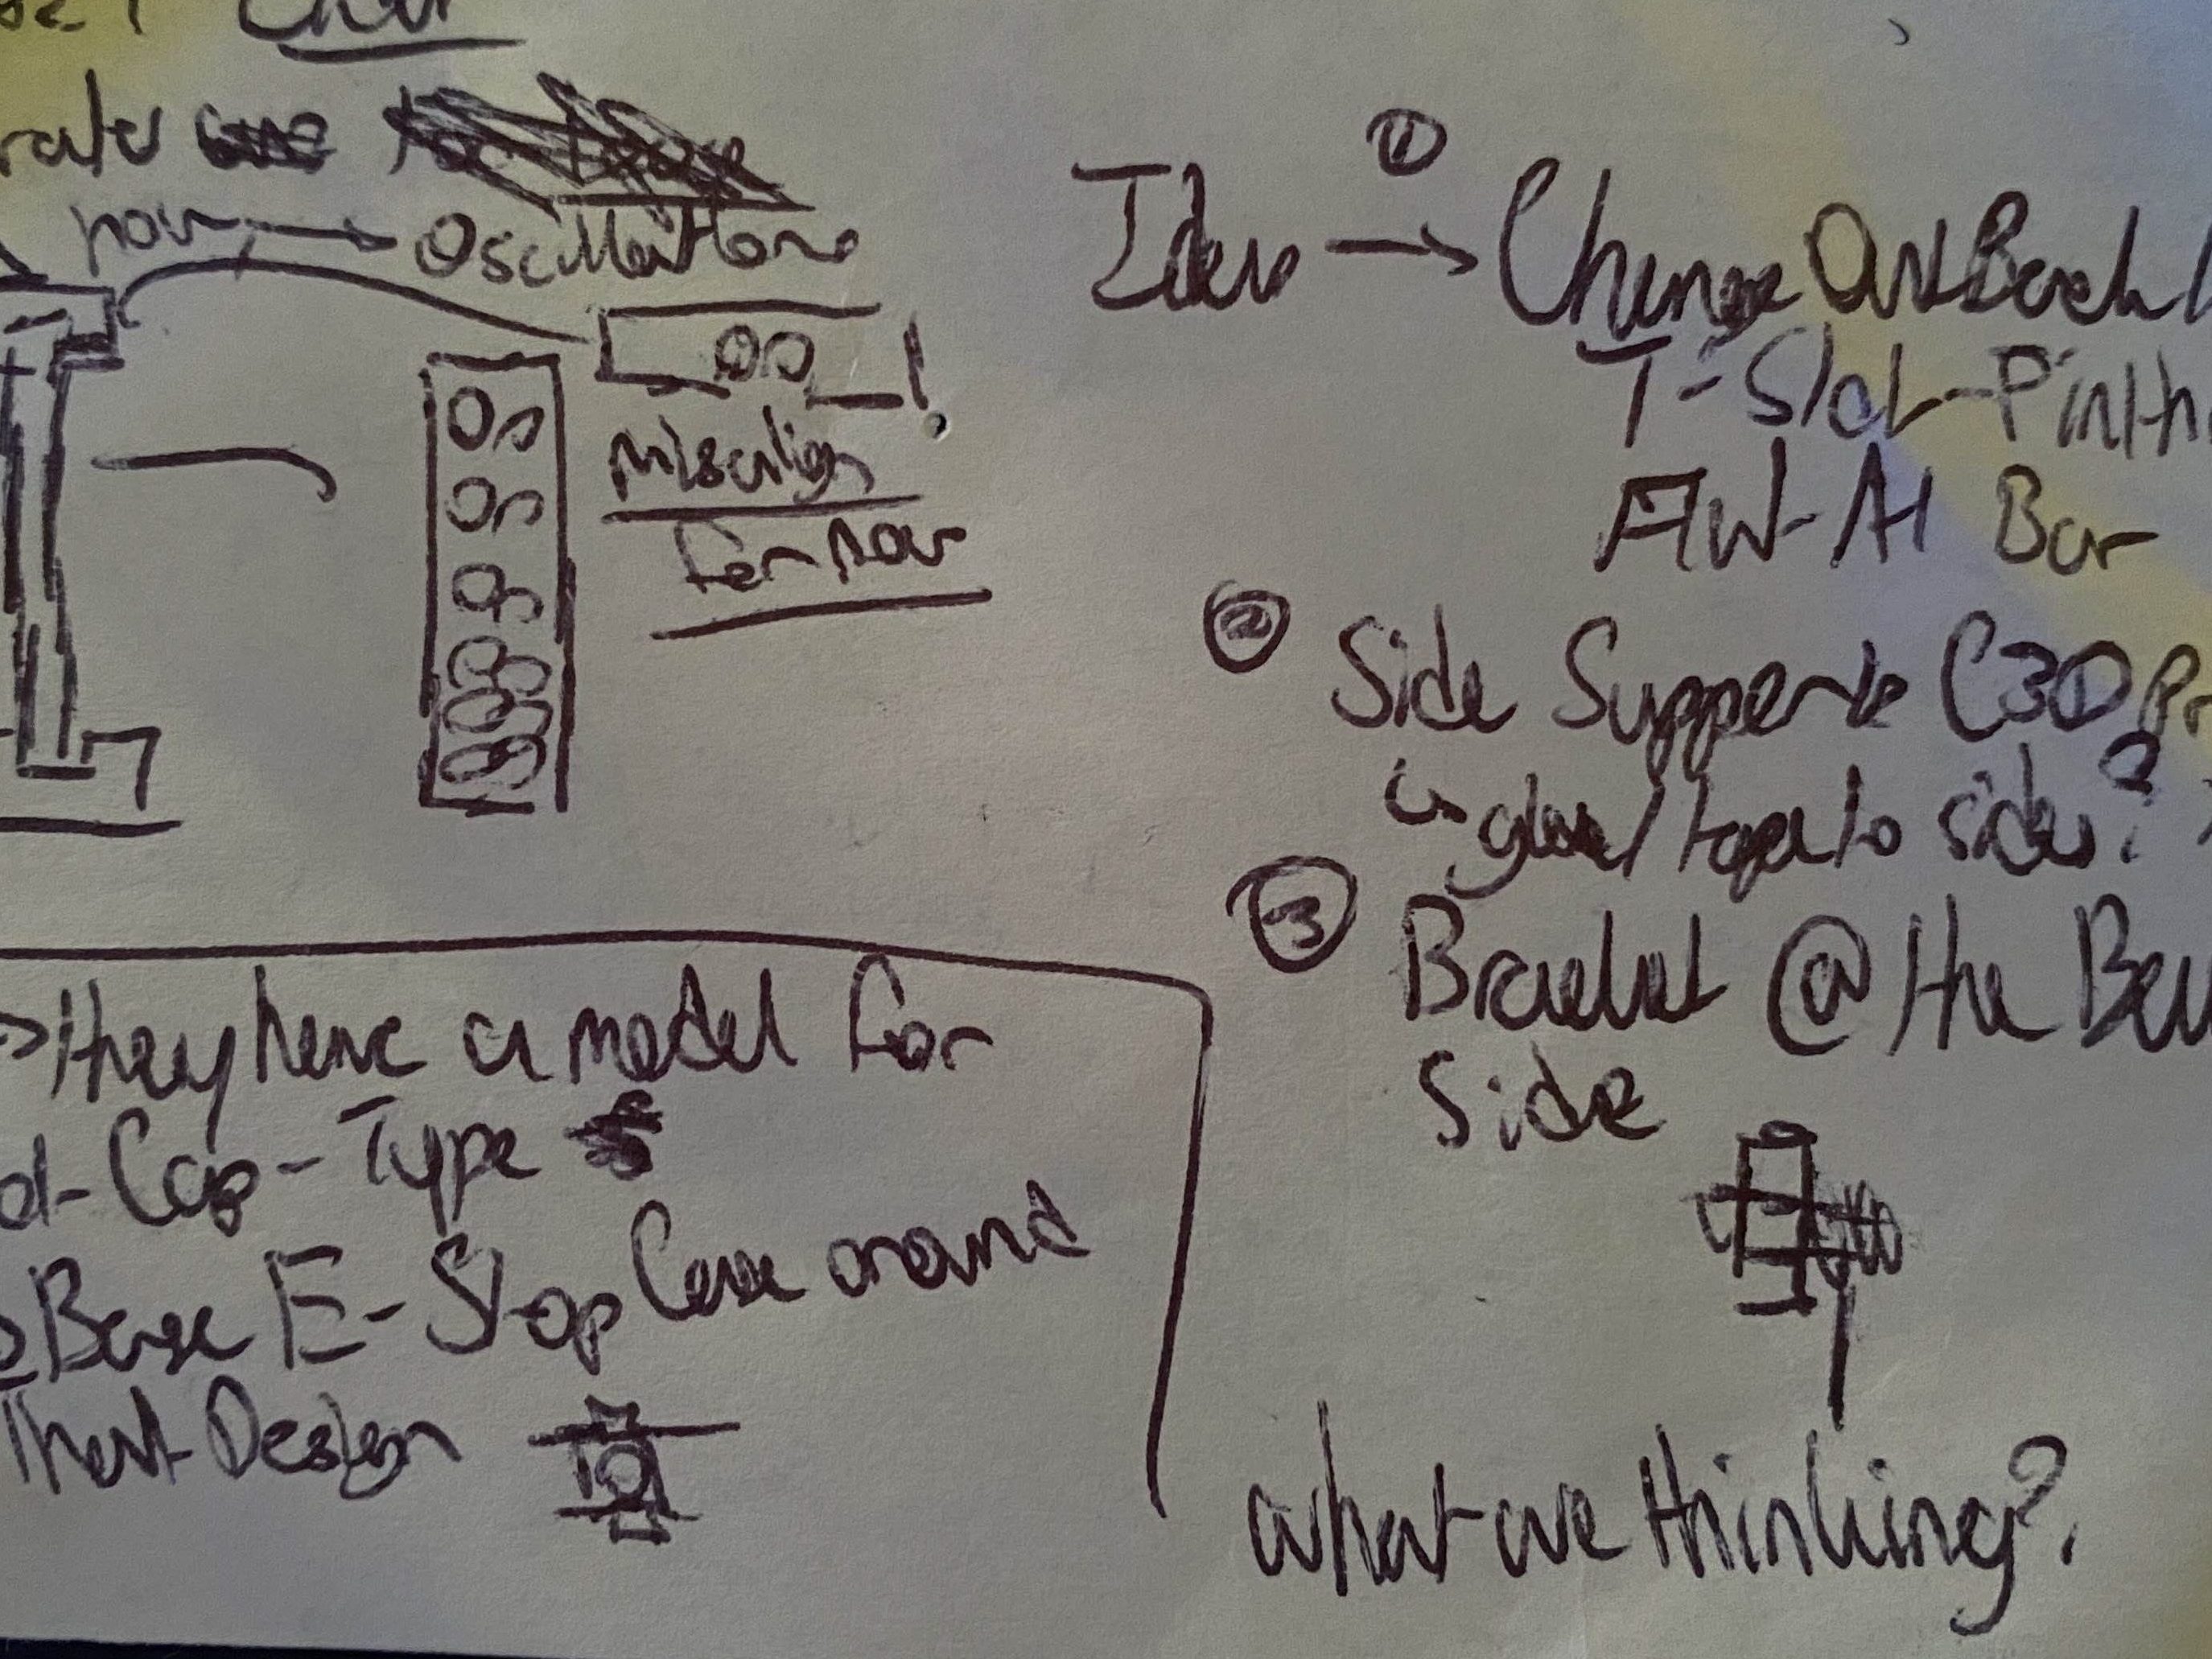
The next task I decided to take on was improving the LiDAR mounting system. When the LiDAR was turned on and was rotating, this caused the whole mount to vibrate rapidly in an oscillating manner. Therefore, the team wanted a stiffer mounting system to reduce oscillations and therefore gain better readings from the LiDAR.

Some rough notes for LiDAR mount modifications and improving the E-Stop mounting system. I was just writing on the sticky note to make sure that I just got my ideas down on paper somewhere.
A conceptual design for improving the LiDAR mounts. Instead of using a plastic vertical support, aluminum T-slot is used to reduce the vibrations. While this design was alright, it once again suffered from the same issues as my first idea for mounting the emergency stop.
My next iteration for the LiDAR mounting system. Once again, this design uses heat-set inserts, and it allows the mount to connect to the T-Slot, which is more stable than attaching the mount to the existing system.
Testing the LiDAR mounting system for the rover. At the time, we did not have another piece of T-Slot to test with, so we attached the LiDAR mount to the back of the rover where the emergency stop is. We then tested how the LiDAR fit in the mount separately.

Coming soon!